Know-how
Fajita guides
The seasoning, technique, and troubleshooting behind the recipes — each guide answers one question thoroughly.
 Basile Morin · CC BY-SA 4.0
Seasoning & marinades
Homemade Fajita Seasoning
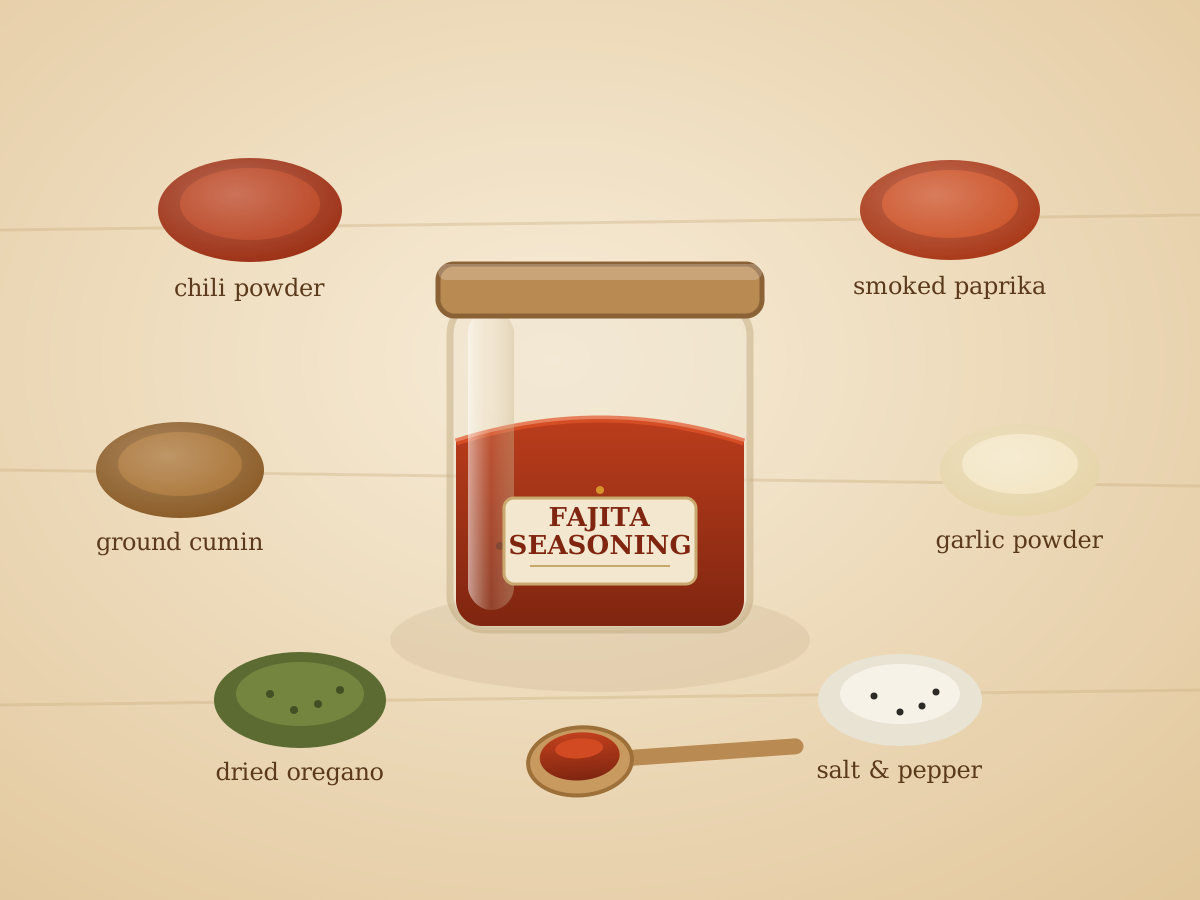
Homemade fajita seasoning is a chili-powder base rounded out with cumin, smoked paprika, garlic and onion powder, oregano, salt, cayenne, and black pepper. Mixing your own skips the anti-caking fillers packets rely on and lets you dial the salt and heat yourself. One batch whisks together in five minutes and keeps its punch for about six months in an airtight jar.
Chicken Fajita Marinade
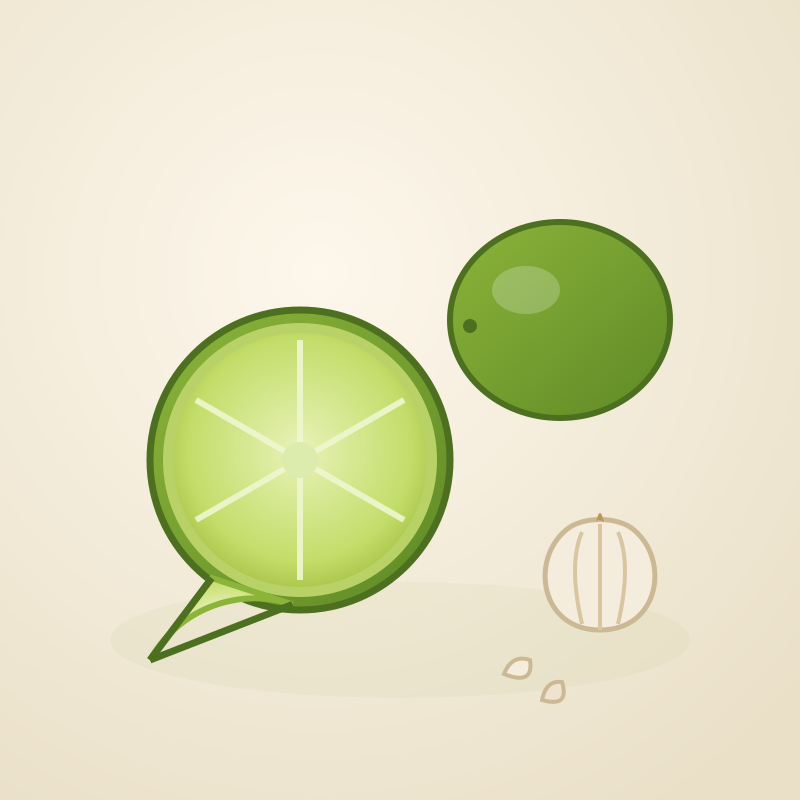
A chicken fajita marinade leans on lime and cumin with plenty of oil and garlic, and because chicken is forgiving it can soak longer than steak — one to six hours in the fridge. An optional buttermilk or plain yogurt version uses gentle dairy acid and enzymes to keep lean breast juicy without the mushy edge that too much citrus causes. It comes together in about ten minutes.
Fajita Marinade
A master fajita marinade is lime juice for brightness, oil to carry flavor and prevent sticking, garlic and fajita seasoning for depth, and a splash of soy or Worcestershire for savory backbone. Timing is everything: 15 to 30 minutes for shrimp or thin cuts, up to a few hours for chicken and steak. The acid mostly works the surface, so longer is not better — too long turns the exterior mushy.
 Sanjay Acharya · CC BY-SA 4.0
Low-Sodium Fajita Seasoning
A low-sodium fajita seasoning skips the salt inside the jar and builds flavor other ways: extra cumin for earthiness, dried citrus zest for brightness, smoked paprika for depth, and an optional pinch of MSG, which carries savor at a fraction of the sodium of salt. Salt at the table instead so you decide the amount. It mixes in five minutes and tastes full, not flat.
Steak Fajita Marinade
A steak fajita marinade is lime, oil, garlic, and cumin with a splash of soy or Worcestershire for savory depth. The key is keeping it short — 30 minutes to about 3 hours for skirt or flank — so the acid flavors the surface without softening the exterior you want firm enough to take a hard sear. It is built for a dark crust and a medium-rare center, not a long overnight soak.
Steak Fajita Seasoning
Steak fajita seasoning is a beefier take on the all-purpose blend: more cumin, ancho and chipotle for deep smoky chile, and a little brown sugar that helps the surface caramelize into a dark crust on skirt or flank. Coarser salt seasons a thick cut better than fine table salt. Mix it in five minutes and rub it on right before a hard, hot sear.
Fajita Sauce: The Creamy Drizzle and the Savory Pan Sauce
"Fajita sauce" means two different things: a cool, creamy drizzle you spoon over the finished plate, and a savory liquid that seasons the meat as it cooks or marinates. The creamy version is sour cream or crema loosened with lime, garlic, and a little of your fajita spice. The savory version leans on lime, oil, Worcestershire, garlic, and cumin. This guide gives you both, with ratios you can scale.
Technique & ingredients
Best Peppers for Fajitas
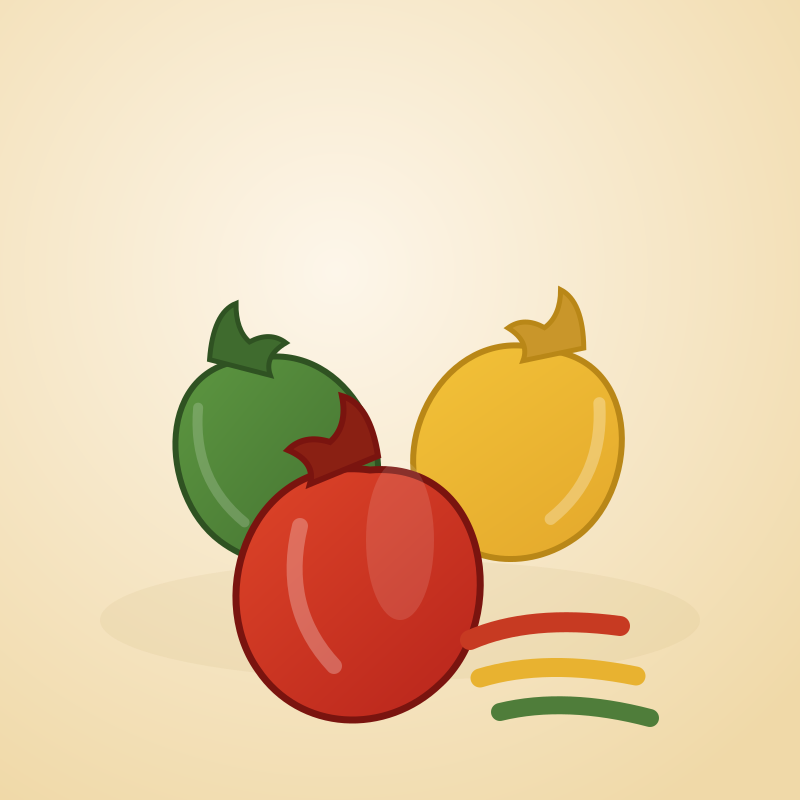
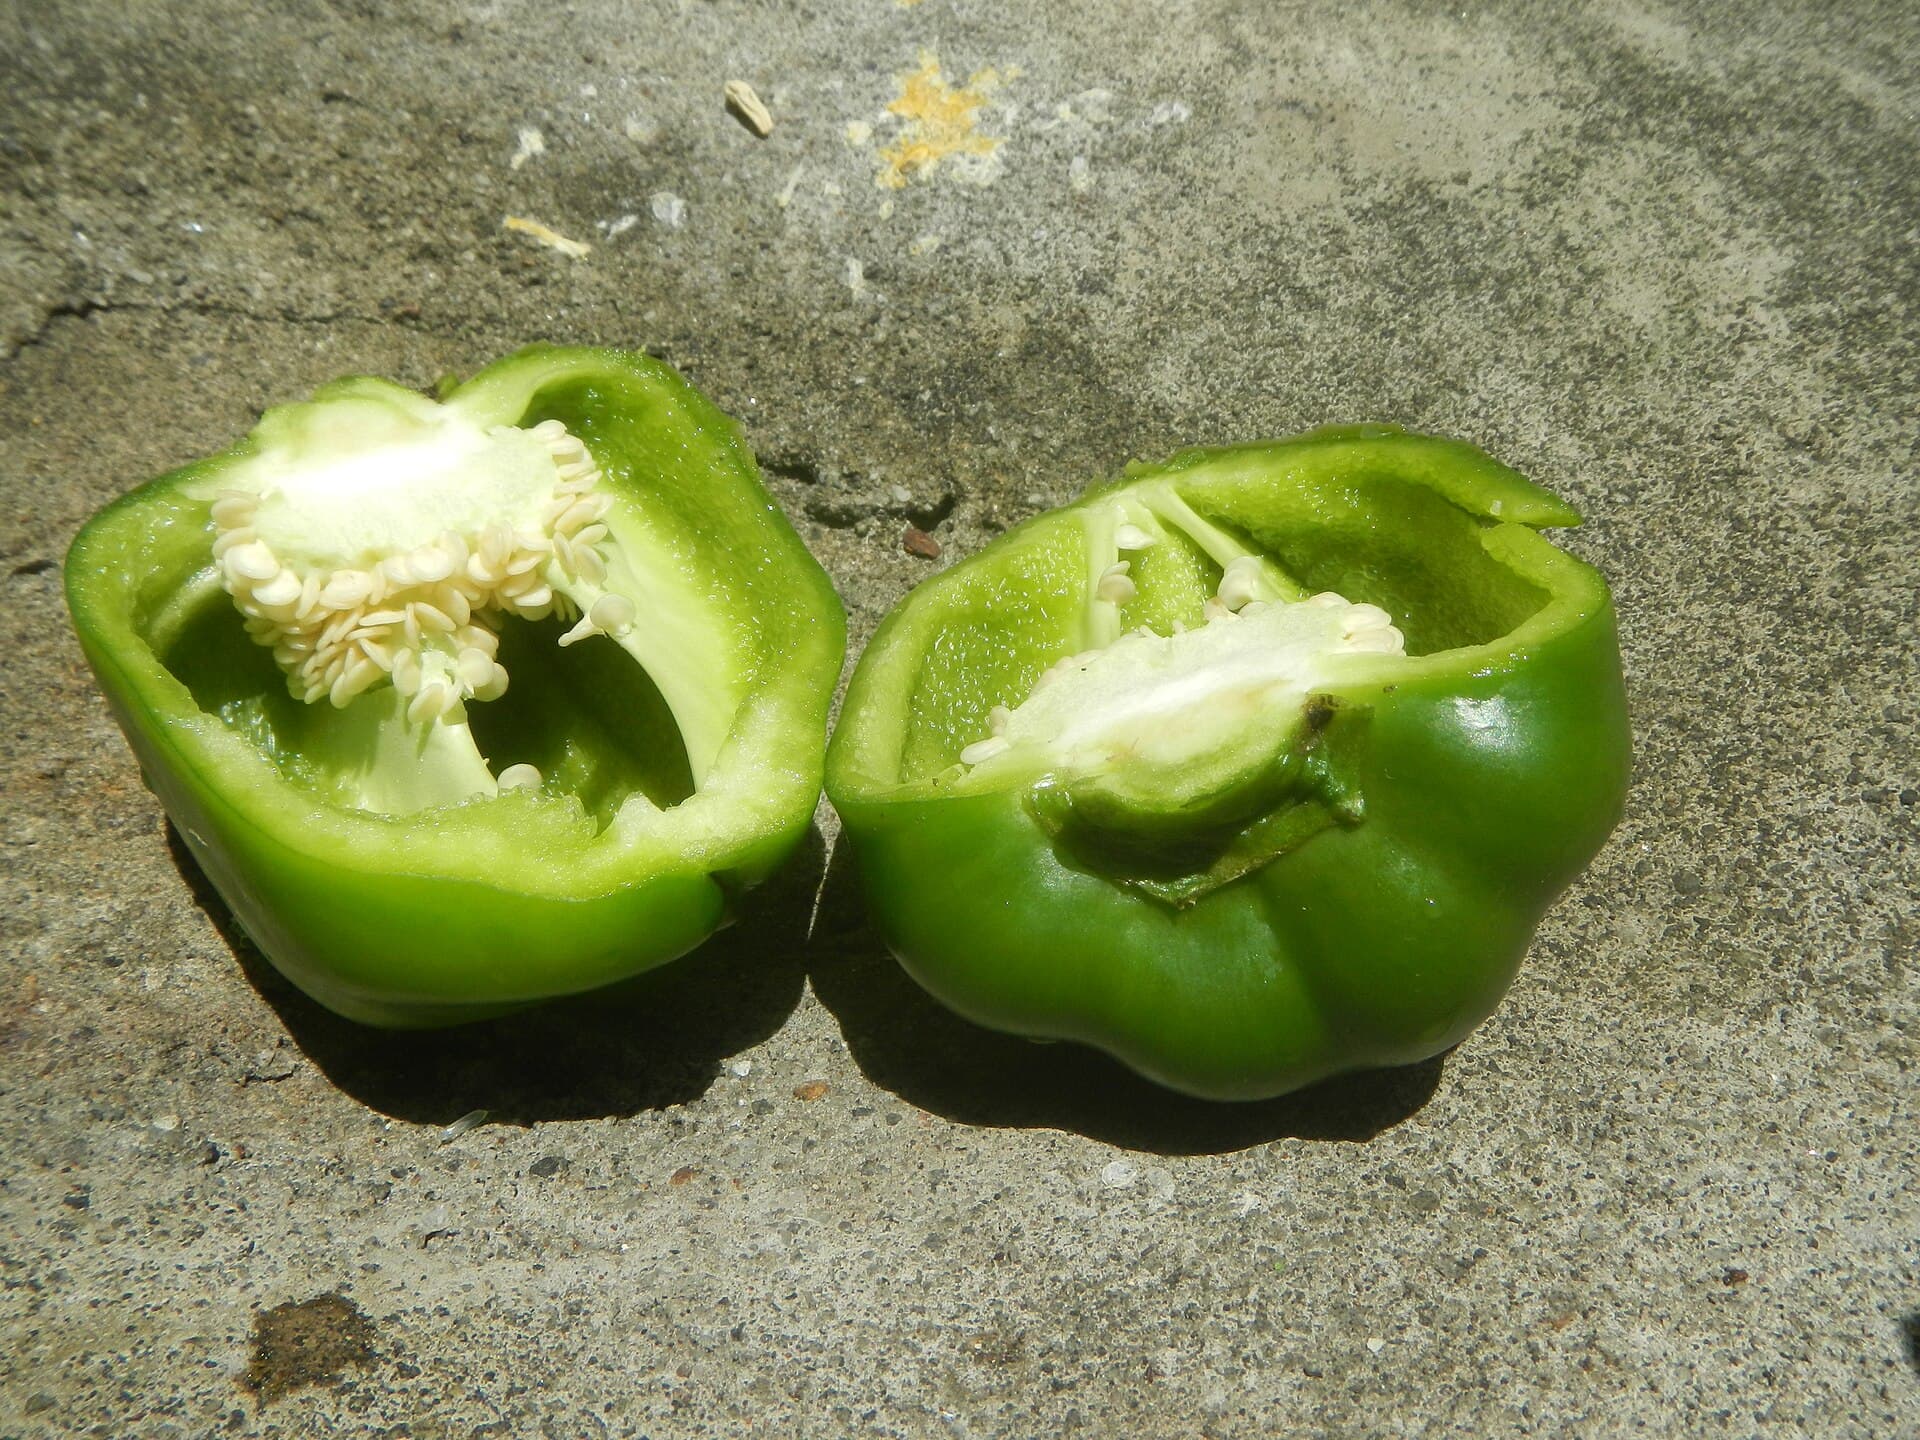
Bell peppers are the fajita standard: use a mix of red, yellow, or orange for sweetness and green for a slightly bitter edge. Add a poblano when you want gentle warmth without real heat. Slice peppers about a quarter inch thick and cook them hot and fast so they char at the edges but keep some crunch instead of collapsing into softness.
Best Steak for Fajitas: Skirt vs. Flank vs. Sirloin
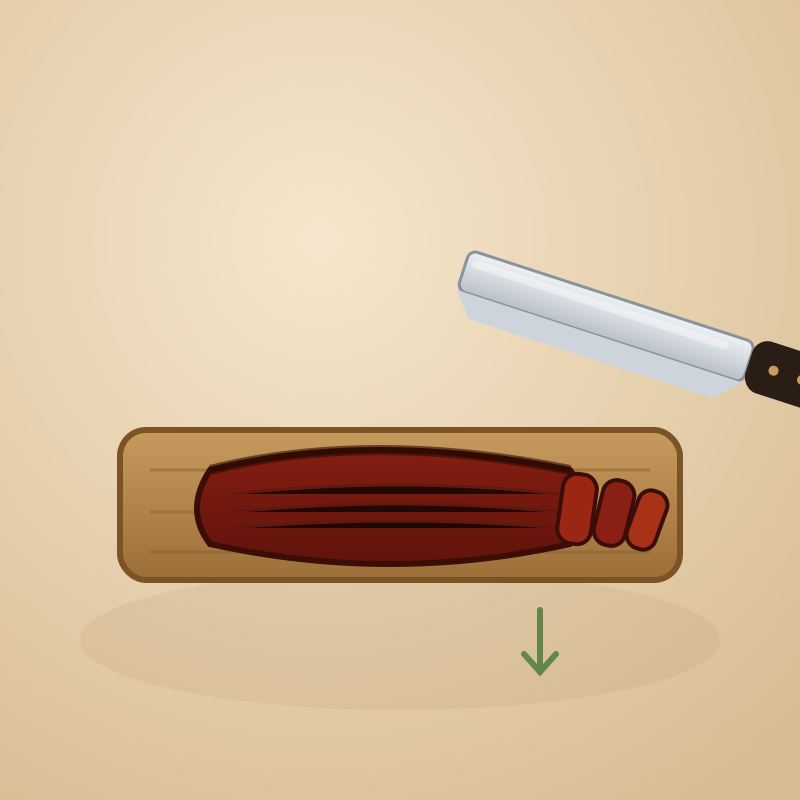
Skirt steak is the best cut for fajitas: it is loosely grained, well marbled, and drinks up marinade, giving that classic beefy chew when sliced across the grain. Flank steak is the leaner, easier-to-find backup, and top sirloin or flap meat work when you want a budget cut. Whatever you buy, slice it thin against the grain.
How Long to Marinate Fajitas
Marinate fajitas by protein: shrimp 15 to 30 minutes, chicken 1 to 4 hours, and skirt or flank steak 1 to 3 hours. Even 30 minutes is worth doing when time is short. A citrus-based fajita marinade works on the surface, so longer is not better, and too much acid turns delicate proteins mushy. Always marinate covered in the refrigerator, never on the counter, and discard the used marinade after it touches raw meat.
How Much Fajita Meat per Person
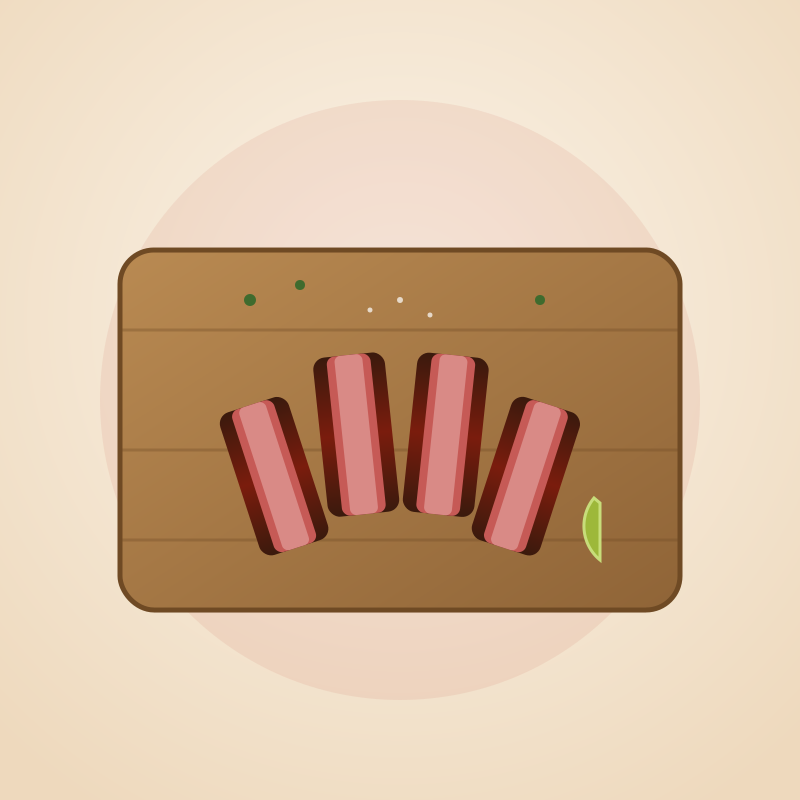
Plan on about one-third to one-half pound of raw protein per person for fajitas. Meat loses roughly 25 percent of its weight to shrinkage as it cooks, so a half pound raw lands near six ounces cooked. Bump toward the high end for big eaters or lighter sides, and add a little extra when feeding a crowd so no one runs short.
 Vigilantcosmicpenguin · CC BY 4.0
How to Warm Tortillas for Fajitas
Warm tortillas in a dry skillet or comal over medium-high for about 30 seconds a side, directly over a gas flame for a few seconds of char, in a foil-wrapped stack in a 300 degree oven, or in the microwave under a damp towel. Keep them soft and warm in a clean towel or an insulated tortilla warmer until you serve.
How to Cook Peppers and Onions for Fajitas
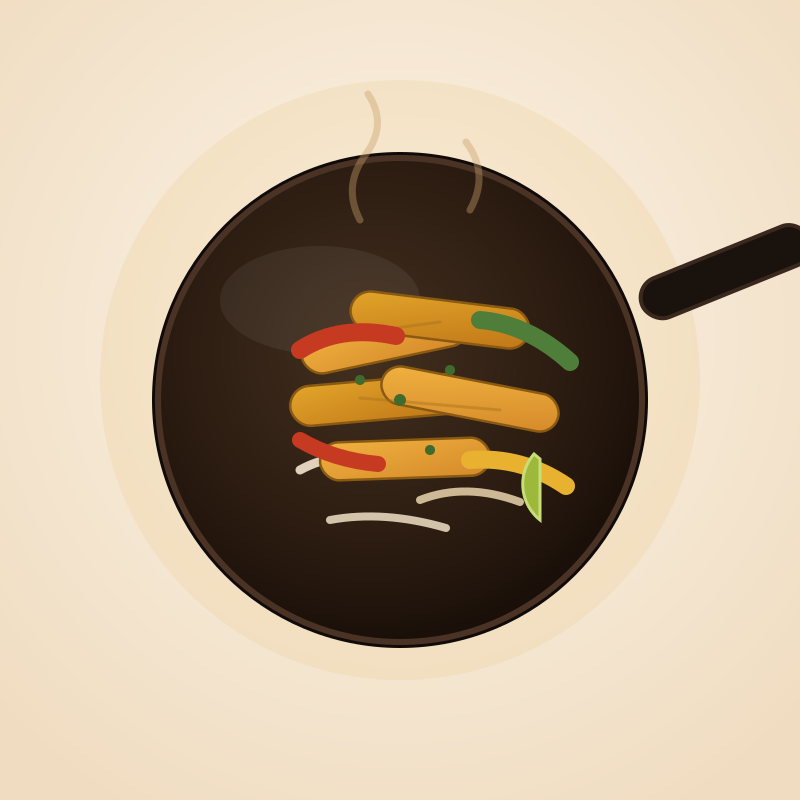
The best fajita peppers and onions are charred and tender-crisp, not soggy or raw. Slice bell peppers and onions into thick strips with the grain, cook them separately from the meat in a screaming-hot pan, and resist stirring so they blister and caramelize. Salt at the end, not the start, so they sear instead of steam.
Skirt Steak vs Flank Steak for Fajitas: Which to Buy
Skirt steak is the traditional fajita cut: thin, richly marbled, deeply beefy, and fast to sear, but it needs a hot pan and a sharp cross-grain slice or it turns chewy. Flank steak is leaner, thicker, and more forgiving, with a milder flavor and a lower price. For classic, restaurant-style fajitas choose skirt; for an easier, leaner cut that feeds more, choose flank. Both must be sliced thin against the grain.
Chicken Thighs vs Breast for Fajitas: Which Is Better?
Boneless chicken thighs make juicier, more forgiving, more flavorful fajitas that are hard to overcook, which is why most cooks prefer them. Chicken breast is leaner and higher in protein but dries out fast and needs a thermometer and a careful hand. Choose thighs for flavor and foolproofness; choose breast for a leaner, higher-protein plate — and pull it at 165°F.
Cast Iron vs Grill for Fajitas: Which Makes Better Fajitas?
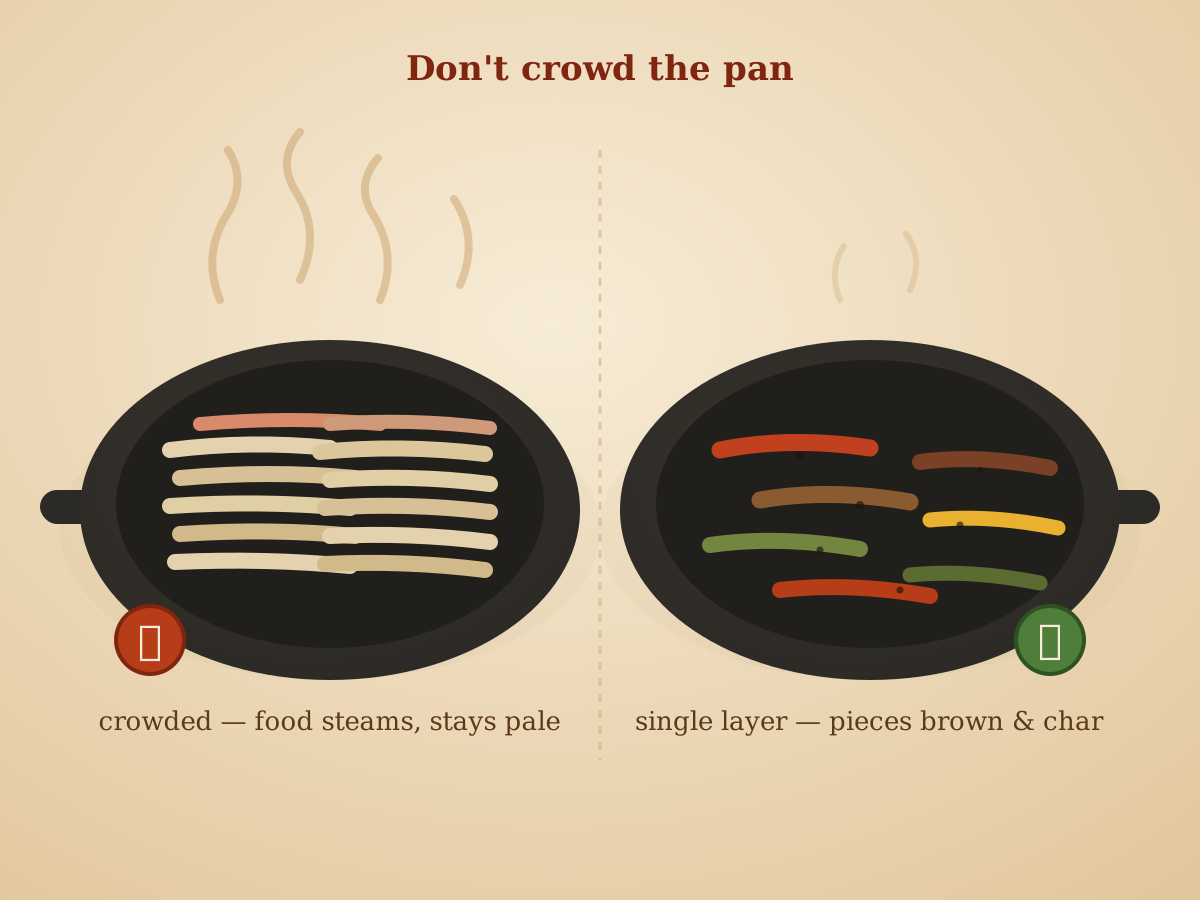
Cast iron gives the deep, even, restaurant-style sear that defines skillet fajitas and lets you cook the peppers and onions in the same pan; the grill adds live-fire smoke and char but the strips can fall through the grates and the vegetables need a basket. Choose cast iron for control and that classic sizzling-platter crust, and the grill for smoky flavor and cooking outdoors for a crowd.

Flour vs Corn Tortillas for Fajitas: Which Should You Use?
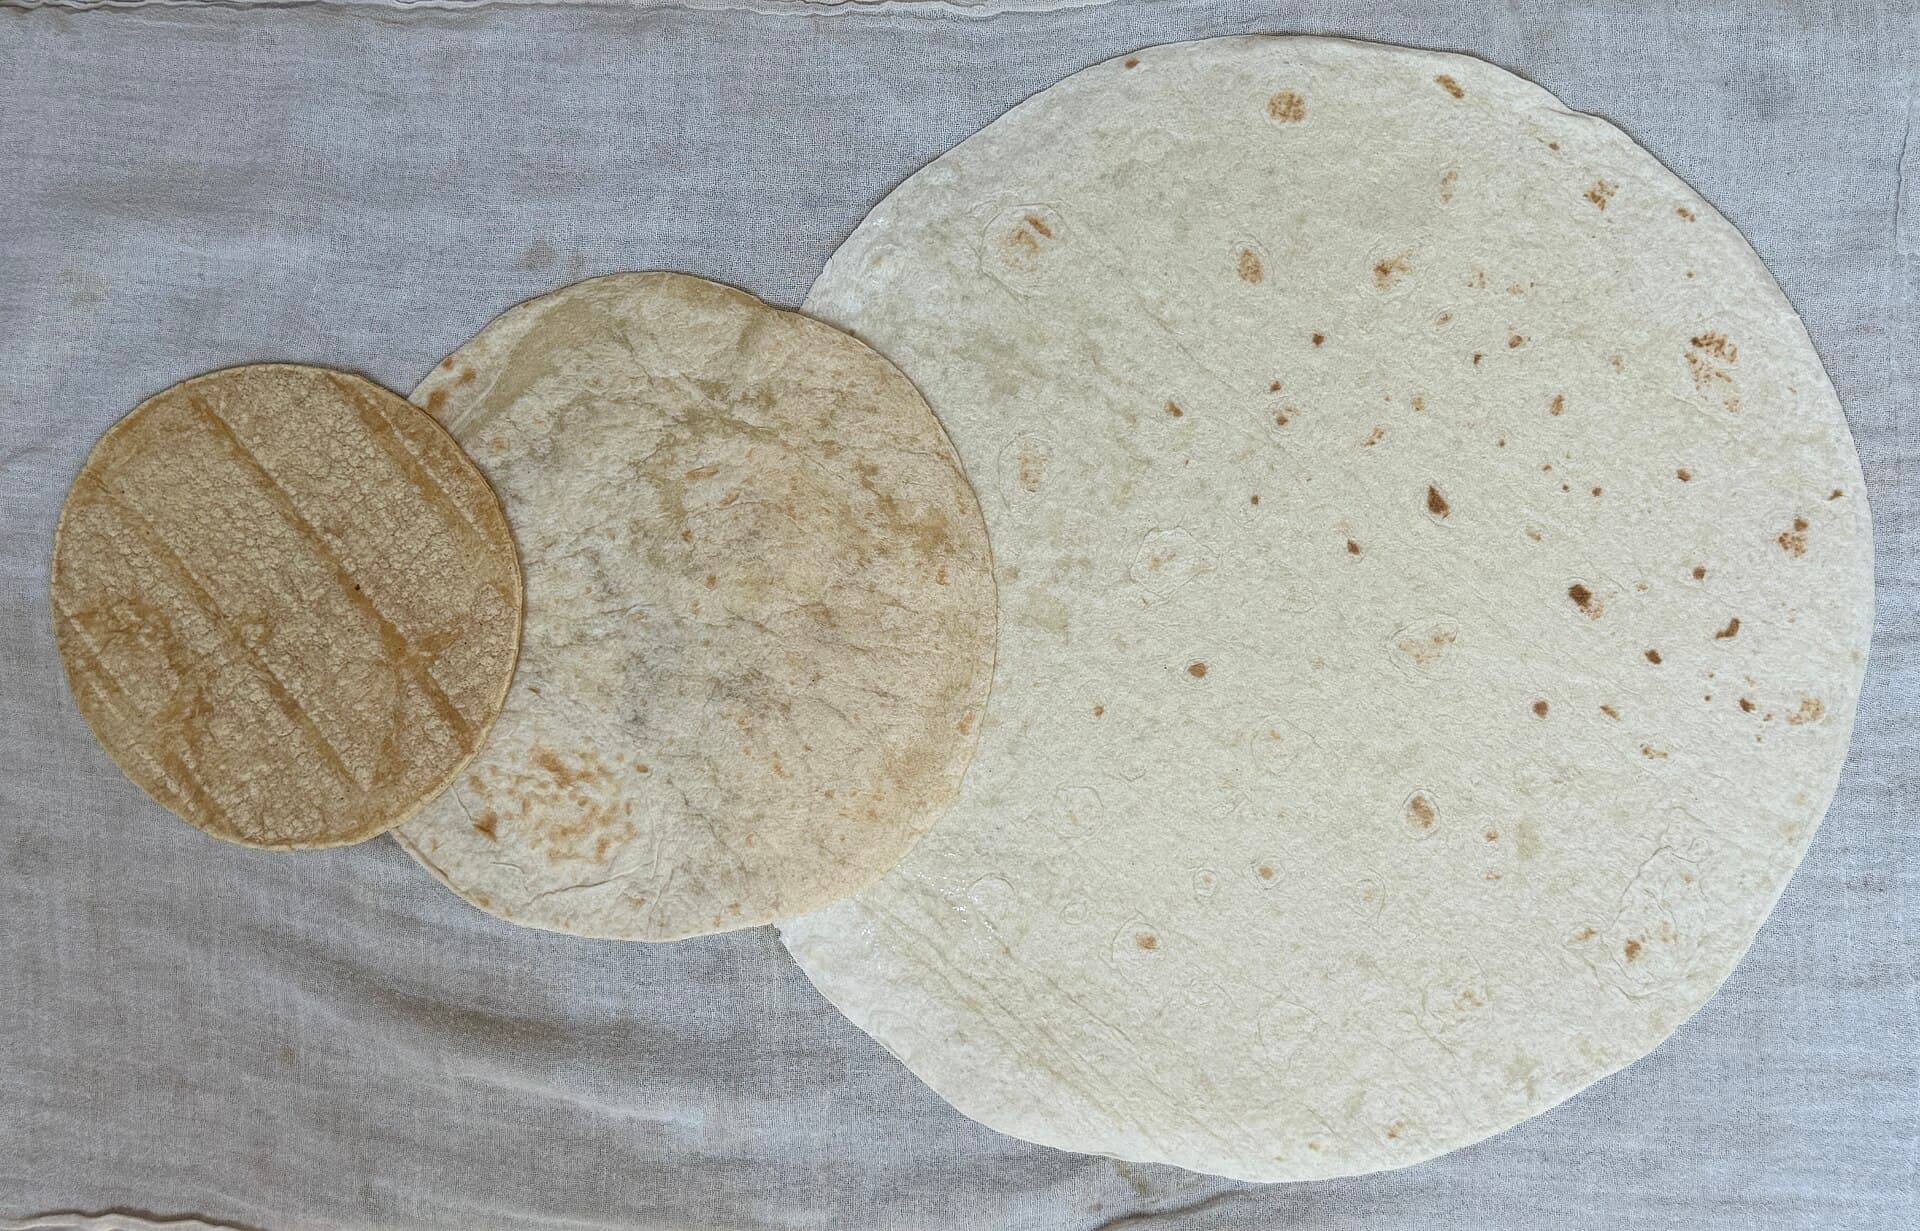
Flour tortillas are the traditional and most popular choice for fajitas: soft, pliable, and big enough to wrap a generous pile of meat and peppers without tearing. Corn tortillas are more authentic to northern Mexican cooking, gluten-free, and more flavorful, but they are smaller and crack more easily unless warmed well. Choose flour for classic Tex-Mex fajitas and easy wrapping; choose corn for flavor, tradition, or a gluten-free table.
Homemade vs Packet Fajita Seasoning: Is It Worth Making Your Own?
Homemade fajita seasoning is fresher, cheaper by the ounce, salt-controlled, and free of anti-caking agents and fillers — and it takes two minutes from spices you already own. Packet seasoning wins only on convenience and shelf life. If you cook fajitas more than occasionally, mixing your own from cumin, chili powder, smoked paprika, garlic, and oregano is a clear upgrade in flavor and cost.
Frozen Peppers and Onions for Fajitas: How to Make Them Not Soggy
Frozen peppers and onions are a real fajita shortcut, but they hold a lot of ice and will steam into a soggy tangle if you treat them like fresh. The trick is to cook them straight from frozen in a screaming-hot pan, do not thaw, do not crowd, and do not stir much — let the water boil off and the edges char. Salt only at the end, and drain any liquid that pools.
Cast Iron vs Griddle for Fajitas: Which Wins?
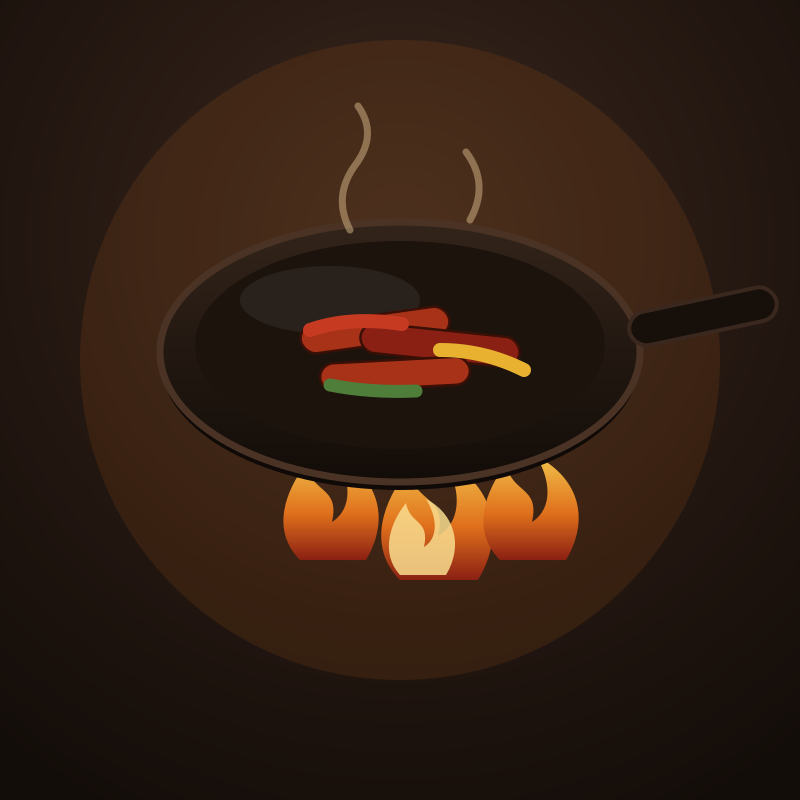
A cast-iron skillet gives the most intense, even sear for one or two servings and its thermal mass holds heat when the meat hits, but its small surface forces you to cook a crowd in batches. A flat-top griddle trades a little of that thermal punch for enormous surface area and heat-zone control, so it feeds a party in one pass. Cook for two? Cast iron. Cook for a crowd? Griddle.
Fajita Vegetables in the Oven: Roasted Peppers and Onions That Char, Not Steam
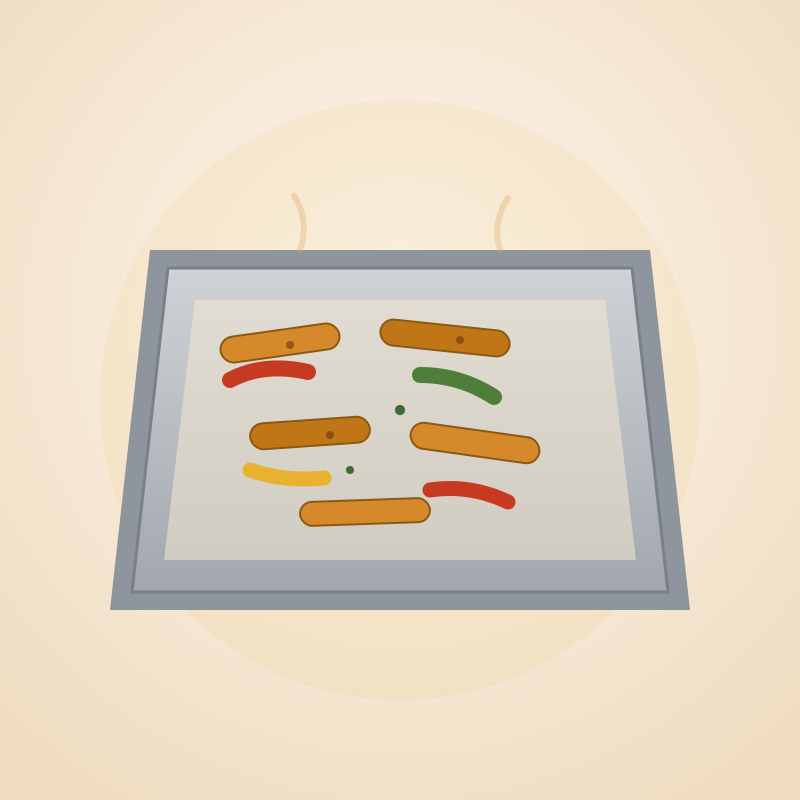
Roasting fajita peppers and onions in the oven is the hands-off way to feed a crowd, but the pan and heat matter: use a very hot oven (450°F+), spread the strips in a single layer on a sheet pan with room to spare, and roast without stirring until the edges char. Crowding is what makes oven vegetables steam and go limp — give them space and high heat and they come out tender with real color.
Fajita Vegetables on the Griddle: Charred, Not Soggy
A flat-top griddle is the easiest place to get truly charred fajita peppers and onions, because its wide, hot surface lets you spread them in a single uncrowded layer so they blister instead of steam. Slice thick with the grain, cook on a hot zone with a thin film of oil, leave them alone to char, salt at the end, and use a basting dome only if you want to speed the finish. This guide walks through the whole method.
Fajita Vegetables in the Air Fryer: Fast and Charred
The air fryer is a genuinely great, hands-off way to cook fajita peppers and onions: its hot, fast-moving air blisters the edges and drives off moisture in about ten to twelve minutes with almost no oil. The keys are cutting thick strips, tossing with just enough oil, not overfilling the basket, and shaking once partway through. This guide covers the timing, temperature, and how to avoid the one thing that makes them soggy.
Sheet Pan vs Skillet Fajitas: Which Should You Make?
Sheet-pan and skillet fajitas answer two different questions. A skillet (especially cast iron) gives the hardest sear and that restaurant-style char, but you cook in batches and babysit the pan. A sheet pan is nearly hands-off and cooks everything at once for a crowd, trading some char for convenience. This guide compares them on flavor, effort, batch size, and cleanup so you can pick the right one for the night.
Fajita Sauce vs Taco Sauce: What’s the Difference?
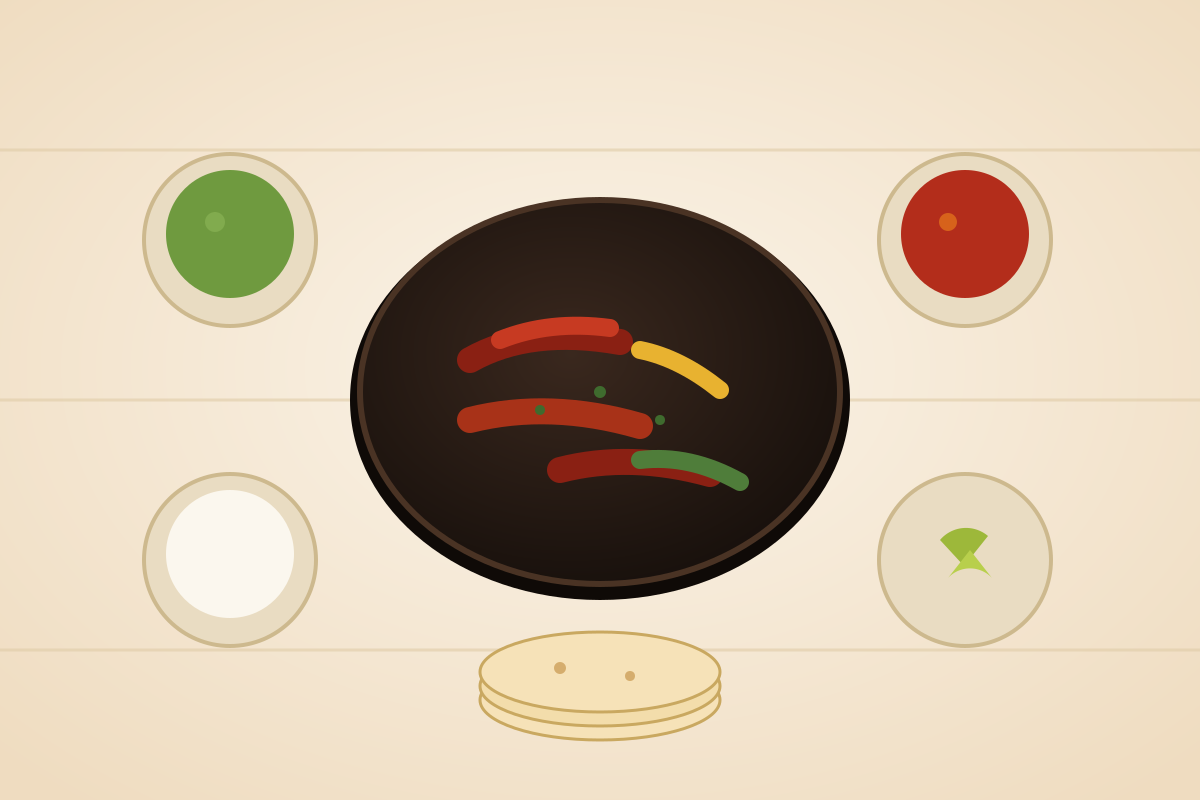
Fajita sauce and taco sauce get used interchangeably, but they usually mean different things. Fajita sauce is most often a savory marinade-and-glaze — lime, garlic, soy or Worcestershire, and spices — that flavors the meat as it cooks, or a cool lime crema drizzled on top. Taco sauce is a thin, tangy tomato-and-chile condiment added at the table. This guide sorts out the two, when to use each, and how they overlap.
Fajita Vegetables on the Grill: Smoky Peppers and Onions
Grilling gives fajita peppers and onions a smoky char you cannot get indoors, but the grate is also the easiest place to lose them into the fire. The trick is to grill them in large planks first — whole pepper sides and thick onion rounds — over direct high heat, then slice them into strips afterward, so they get real char without falling through. This guide covers the plank method, a grill basket alternative, and how to time them with the meat.
Salsa vs Pico de Gallo: What’s the Difference?
Pico de gallo is technically a salsa, but the two are not interchangeable on a fajita plate. Pico de gallo is a fresh, chunky, dry mix of raw tomato, onion, chile, cilantro, and lime; "salsa" usually means a looser, saucier blend — often cooked or blended — that pours and coats. This guide explains the difference in texture, ingredients, and when each one belongs on your fajitas.
Troubleshooting

How to Cook Fajitas Without Cast Iron
You do not need a cast-iron skillet to make great fajitas. A well-preheated stainless or carbon-steel pan sears beautifully, a sheet pan under a hot oven or broiler chars a big batch hands-off, and a grill delivers real smoke. The one pan to skip is nonstick, which cannot safely take the high heat fajitas want. Match the method to what you own and adjust your expectations for each.

How to Get Restaurant-Style Fajita Char
That deep, blistered char on restaurant fajitas comes from screaming-hot metal and patience. Sizzling platters ride on cast iron or a flat-top held far hotter than a home burner usually reaches. Get there by preheating hard, drying the food, cooking in batches so the surface stays hot, using a high-smoke-point oil, and leaving each piece alone long enough to brown before you move it.
How to Slice Fajita Meat Against the Grain
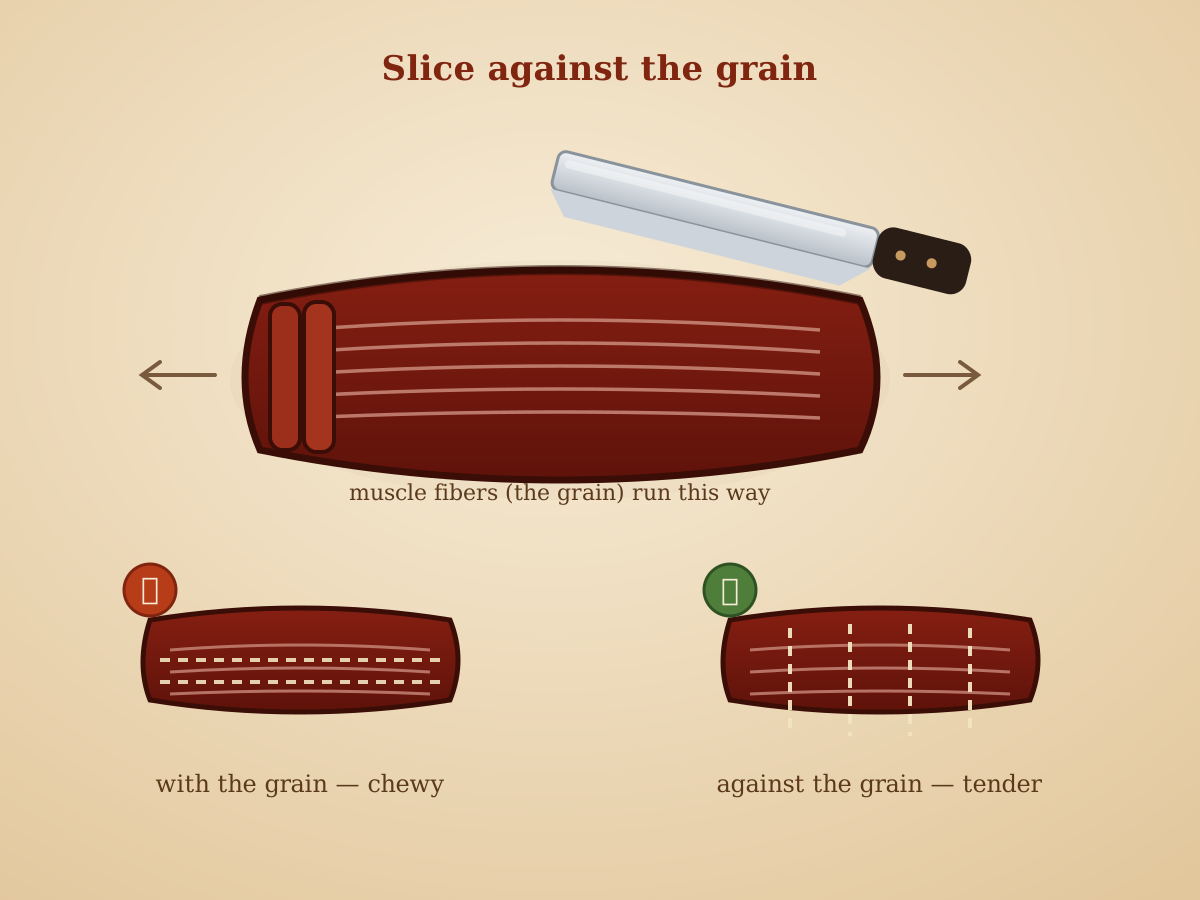
Slice fajita meat thin and across the grain after it rests. Look at the surface to find the direction the muscle fibers run, then cut straight across them at a slight angle into quarter-inch strips. Cutting against the grain shortens the fibers so each bite is tender. Always slice cooked, rested meat, not raw, and hold your knife low for wide, even pieces.
Why Are My Fajitas Watery?
Watery fajitas almost always come from steaming instead of searing. When you crowd the pan, cook over low heat, salt the vegetables too early, or dump marinade into the skillet, moisture floods out faster than it can evaporate and the food simmers in its own liquid. The fix is high heat, a single layer cooked in batches, a dry protein surface, and draining the marinade before it hits the pan.
Why Is My Fajita Steak Tough?
Tough fajita steak usually traces to four fixable mistakes: the wrong cut, slicing with the grain instead of across it, overcooking, and skipping the rest. Skirt and flank are flavorful but coarse-grained, so they must be cooked no further than medium-rare and sliced thin against the grain. Do that, rest the meat a few minutes, and go easy on acidic marinades, and the same steak turns tender.
How to Keep Fajita Vegetables From Getting Soggy
Soggy fajita vegetables come down to one thing: water that steams instead of evaporating. The fixes are simple and always the same — use high heat, never crowd the pan, cook the vegetables separately from the meat, and salt only at the very end. This guide explains why each rule matters, how to rescue vegetables that are already going limp, and how to handle frozen peppers and onions without a watery mess.
Serving & leftovers
How to Reheat Fajitas
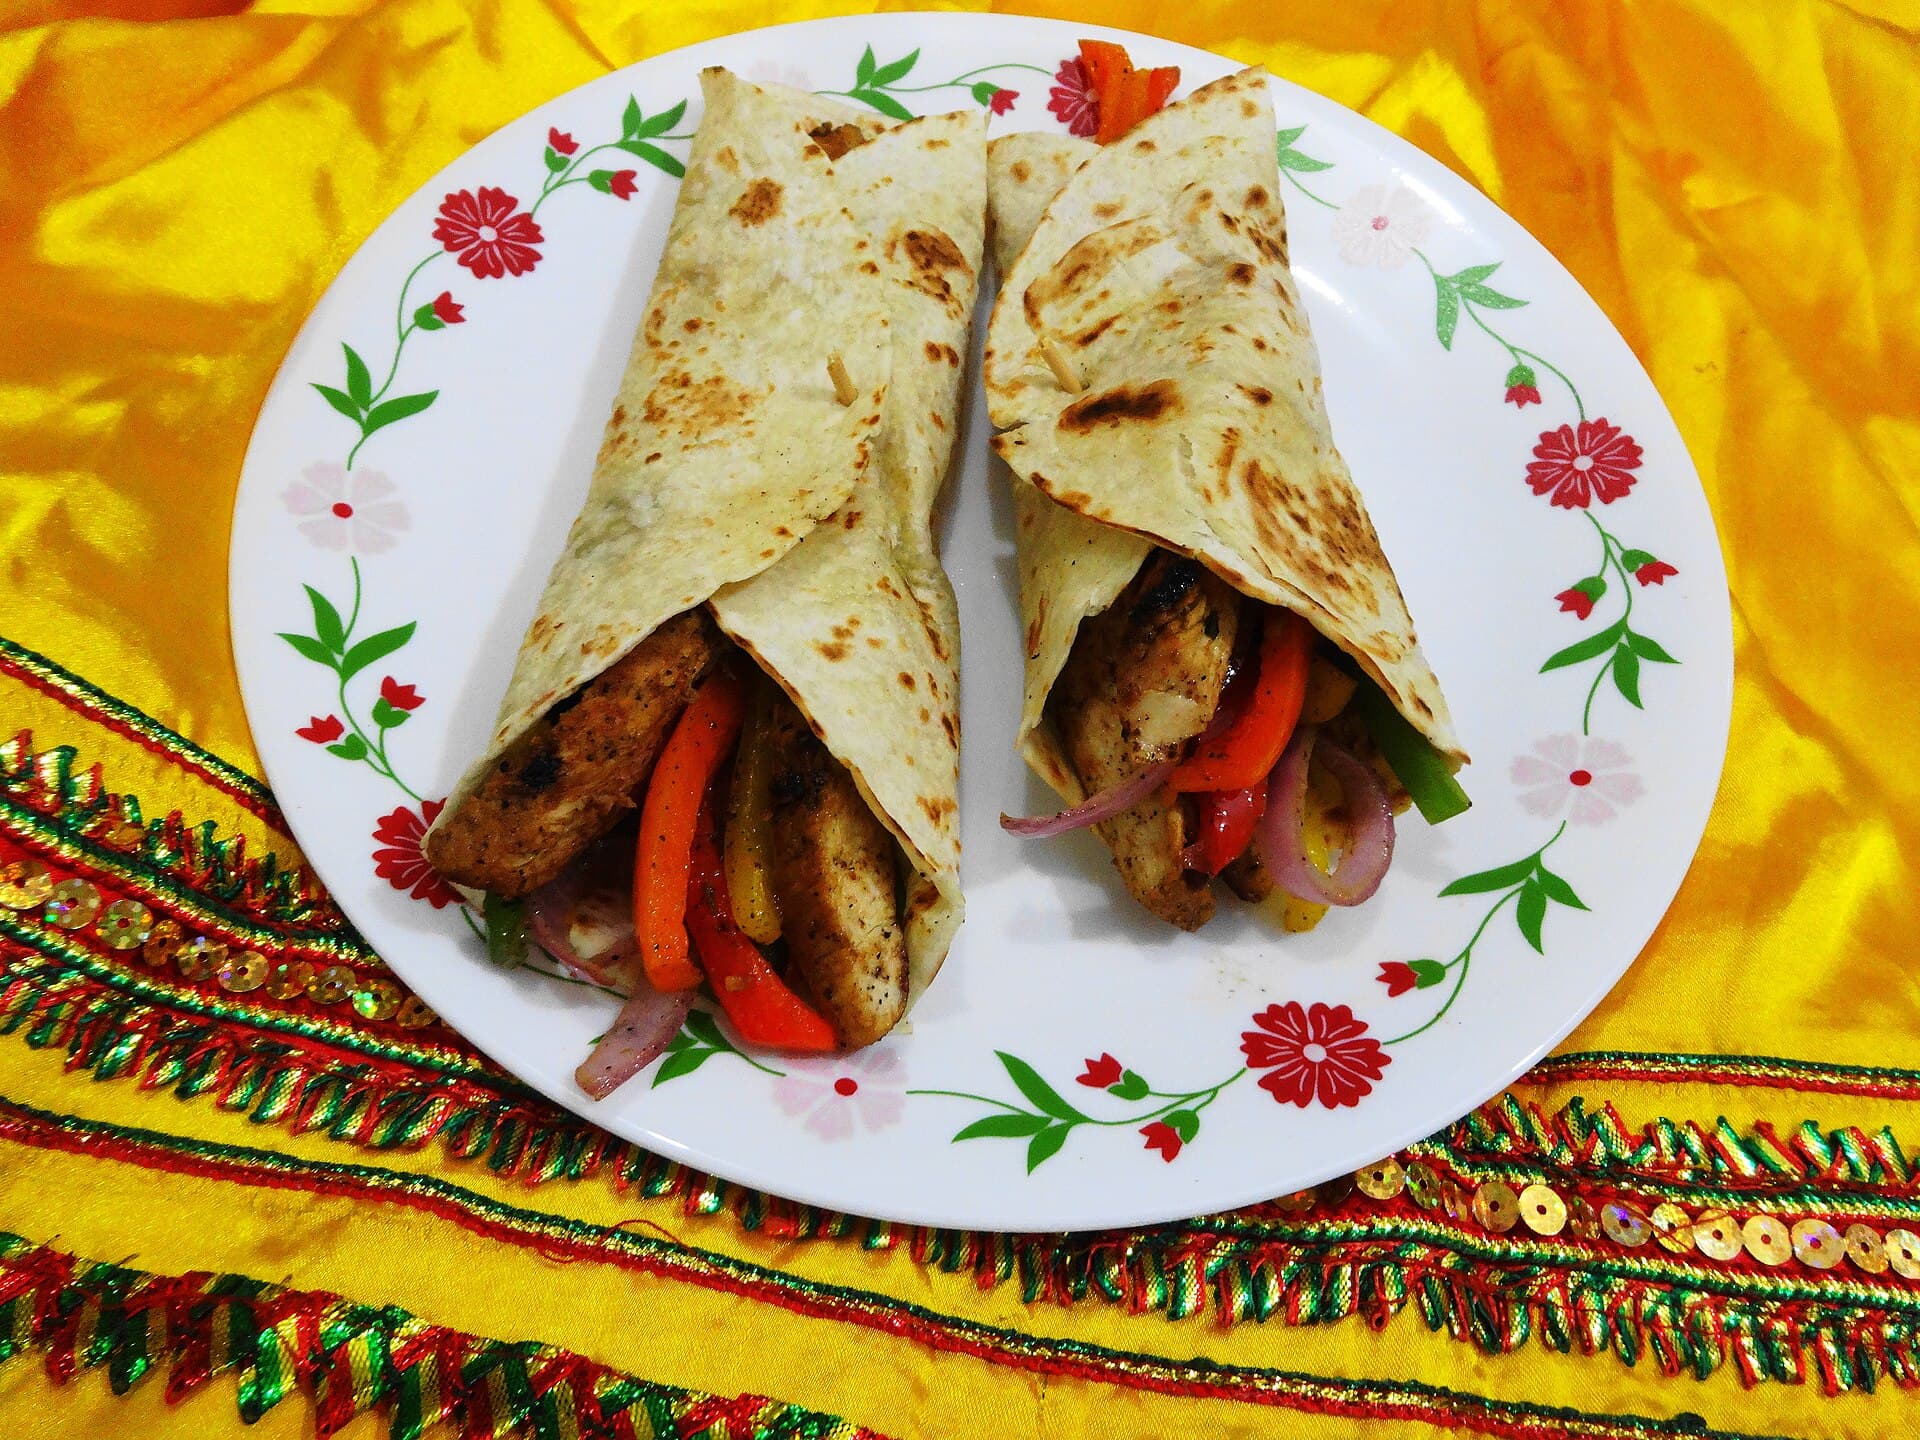
Reheat fajitas fast in a hot skillet with a splash of water or oil, tossing just until warmed through, so the already-cooked meat does not overcook and toughen. The microwave works in short bursts with a damp cover. Heat leftovers to 165 degrees Fahrenheit, and store cooked fajita meat and vegetables in the fridge for three to four days.
 stu_spivack · CC BY-SA 2.0
What to Serve with Fajitas
Round out fajitas with Mexican rice, beans, guacamole, and salsa as the core four, then add elote, a crisp lime slaw, or a simple green salad for freshness. A build-your-own toppings bar with sour cream, cheese, lime, and pickled jalapenos lets everyone customize. When time is short, warmed canned beans, store-bought guac, and bagged slaw pull a full spread together fast.
Fajita Rice: The Seasoned Side That Stretches the Meat
Fajita rice is a lightly seasoned Mexican-style rice — toasted grains simmered with tomato, onion, garlic, and the same cumin-and-chili notes as the meat — built to soak up fajita juices and stretch a plate. The trick is toasting the dry rice in oil first, then simmering in seasoned broth at a ratio near one part rice to one and three-quarter parts liquid, and resting it covered before you fluff.
Fajita Quesadillas: The Best Way to Use Leftover Fajitas
Leftover fajitas become an even better second dinner as quesadillas. Chop the cold meat and peppers, pile them with shredded melting cheese inside a flour tortilla, and crisp it in a dry cast-iron skillet over medium heat until the cheese binds and both sides are golden. The keys are a drier filling, cheese on both sides to act as glue, and patience with the heat so it crisps before it burns.
Guacamole for Fajitas: Cool, Chunky, and Built to Scoop
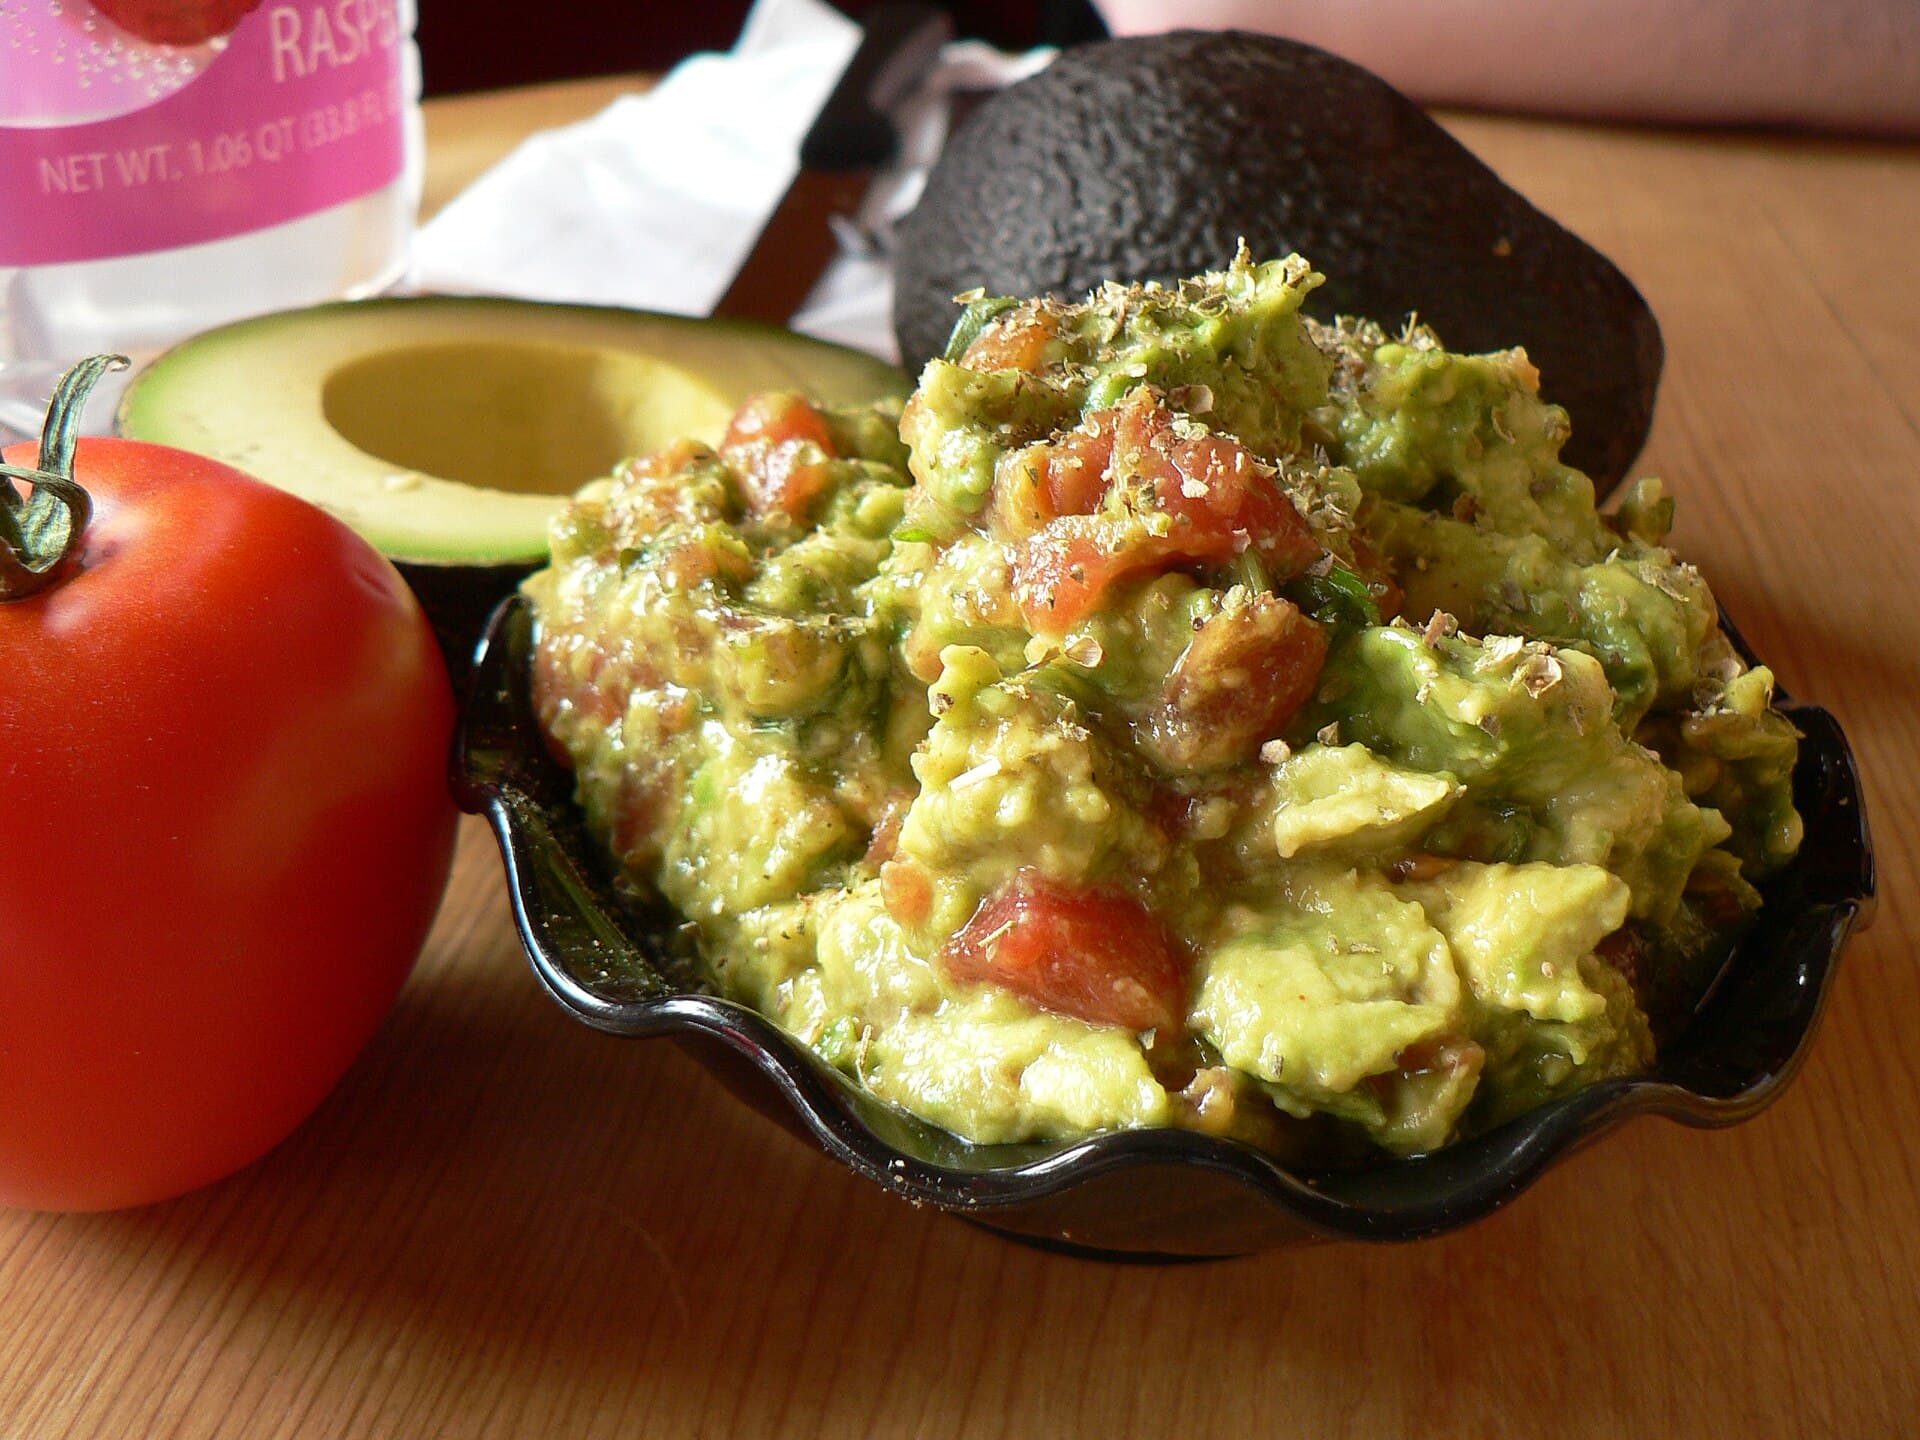
The best guacamole for fajitas is chunky, limey, and a little coarse so it holds up inside a hot tortilla instead of sliding out. Mash ripe avocado with lime, salt, and finely diced onion, then fold in cilantro, a little serrano or jalapeño, and optional tomato. Keep it thick, season it aggressively, and press plastic wrap onto the surface to hold the color until serving.
Pico de Gallo for Fajitas: Fresh, Crunchy, and Drained Right
Pico de gallo is the fresh, crunchy topping that cuts through rich fajita meat: equal parts diced tomato and onion, plus jalapeño, cilantro, lime, and salt. The secret to pico that does not flood your tortilla is salting the tomatoes and letting them drain, then dressing with lime just before serving so it stays bright and crisp rather than watery.
Beans for Fajitas: Refried, Charro, or Simple Black Beans
Beans are the cheapest, most filling side on a fajita table, and three styles cover every craving: creamy refried beans, brothy charro (cowboy) beans, and quick seasoned black beans. All three start from canned or cooked beans, take fifteen minutes, and lean on the same cumin-garlic-onion base as the fajitas so the plate tastes like one meal.
Fajita Nachos: Turn Leftover Fajitas into a Loaded Sheet Pan
Leftover fajitas make outstanding nachos. Layer sturdy tortilla chips with chopped fajita meat and peppers and plenty of shredded melting cheese on a sheet pan, then bake at 400°F until the cheese melts and the edges crisp. The secret to nachos that are not soggy or bare is two thin layers instead of one deep pile, cheese on both, and cold, wet toppings added only after they come out of the oven.
Salsa for Fajitas: Roasted, Fresh, or Charred
The best salsa for fajitas has a little char and a lot of lime to stand up to the smoky, seared meat. A quick roasted tomato-and-chile salsa blitzed in a blender takes ten minutes and beats any jar; a fresh pico is the chunkier, brighter option. Match the salsa to the fajitas: roasted and smoky for steak, fresh and sharp for chicken and shrimp.
Pickled Red Onions for Fajitas: Bright, Pink, and Ready in 30 Minutes
Quick-pickled red onions are the easiest upgrade to a fajita plate: tangy, crunchy, and shocking pink, they cut through rich meat and cheese. Thin-slice a red onion, cover it with warm vinegar, lime, salt, and a little sugar, and it is ready in thirty minutes. They keep two weeks in the fridge and get better every day.
How Long Do Fajitas Last? Storage, Fridge, and Freezer Times
Cooked fajita meat and vegetables keep three to four days in the refrigerator in an airtight container, and about two to three months frozen. Store the meat, vegetables, tortillas, and cold toppings separately so nothing goes soggy, cool leftovers within two hours of cooking, and reheat only once. Fresh toppings like guacamole and pico have much shorter lives than the cooked components.
Can You Freeze Fajitas? How to Freeze the Meat, Veggies, and Marinade
Yes — fajitas freeze well, and freezing the raw meat right in its marinade is one of the best make-ahead tricks there is. Cooked fajita meat and vegetables keep two to three months frozen; raw marinated meat keeps just as long and tenderizes as it thaws. Freeze in flat, airtight bags, thaw in the fridge, and cook or reheat hot. Freeze tortillas and toppings separately.
Leftover Fajita Bowls: Turn Last Night’s Fajitas into a Burrito Bowl
A fajita bowl is the fastest, freshest way to eat leftover fajitas: warm rice on the bottom, reheated fajita meat and peppers on top, then beans and cold toppings piled on like a burrito bowl. It reheats better than a wrapped fajita, stretches a little meat across a full meal, and is the ideal grab-and-go lunch for meal prep.
Fajita Breakfast Skillet: Turn Leftover Fajitas into Breakfast
Leftover fajitas make an outstanding breakfast. Crisp the chopped meat and peppers in a hot skillet, add eggs — scrambled right in or fried on top — and finish with cheese, avocado, and salsa. Fold it into a warm tortilla for breakfast tacos or a burrito, or serve it as a skillet hash. It comes together in ten minutes and reheats last night’s fajitas into something new.
Fajita Crema: The Cool, Tangy Drizzle That Finishes the Plate
Fajita crema is a thin, tangy, spoonable sauce — Mexican crema or sour cream loosened with lime and seasoned to match the meat — that you drizzle over the finished fajitas to cool the heat and add richness. The base is five minutes: crema, lime, garlic, salt, and a little fajita spice or chipotle. Thin it for a squeeze-bottle drizzle or keep it thick for a dip.
Leftover Chicken Fajitas: 6 Ways to Use Them Up
Leftover chicken fajitas reheat and transform beautifully because the chicken is already seasoned and sliced. Reheat gently in a hot skillet with a splash of water so it does not dry out, or repurpose it into quesadillas, nachos, burrito bowls, a breakfast skillet, a fajita salad, or a quick soup. Store the chicken, peppers, and tortillas separately for three to four days.
Leftover Steak Fajitas: Reheat Without Overcooking, Plus 6 Uses
The trap with leftover steak fajitas is reheating: high heat turns already-cooked, thin-sliced steak gray and tough. Warm it fast and gently — a very hot skillet for under a minute, or low power in the microwave — so it heats through without cooking further. Better yet, repurpose it cold or barely warmed into quesadillas, nachos, bowls, a breakfast hash, a steak salad, or tacos.
The Best Toppings for Fajitas: Build a Better Topping Bar
The best fajita toppings balance the seared, smoky meat with something cool, fresh, tangy, or rich: guacamole, pico de gallo, salsa, a lime crema, cheese, pickled onions, cilantro, and plenty of lime. Aim for one from each category — creamy, fresh, acidic, and cheesy — and you have a topping bar that makes every fajita taste finished. Prep most of them ahead.