Chicken Fajita Meal Prep
This chicken fajita meal prep scales a sheet-pan bake to fill four containers for the week, with the whole recipe organized around safe cooling and reheating rather than a single dinner moment. Roast seasoned chicken and vegetables on two pans so nothing steams, cool in shallow layers within two hours, then portion into four containers with rice on the side. Reheat to 165°F, and plan to eat the last container by day four.
- Prep
- 20m
- Cook
- 30m
- Rest
- 10m
- Total
- 1h
- Serves
- 4
- Level
- easy
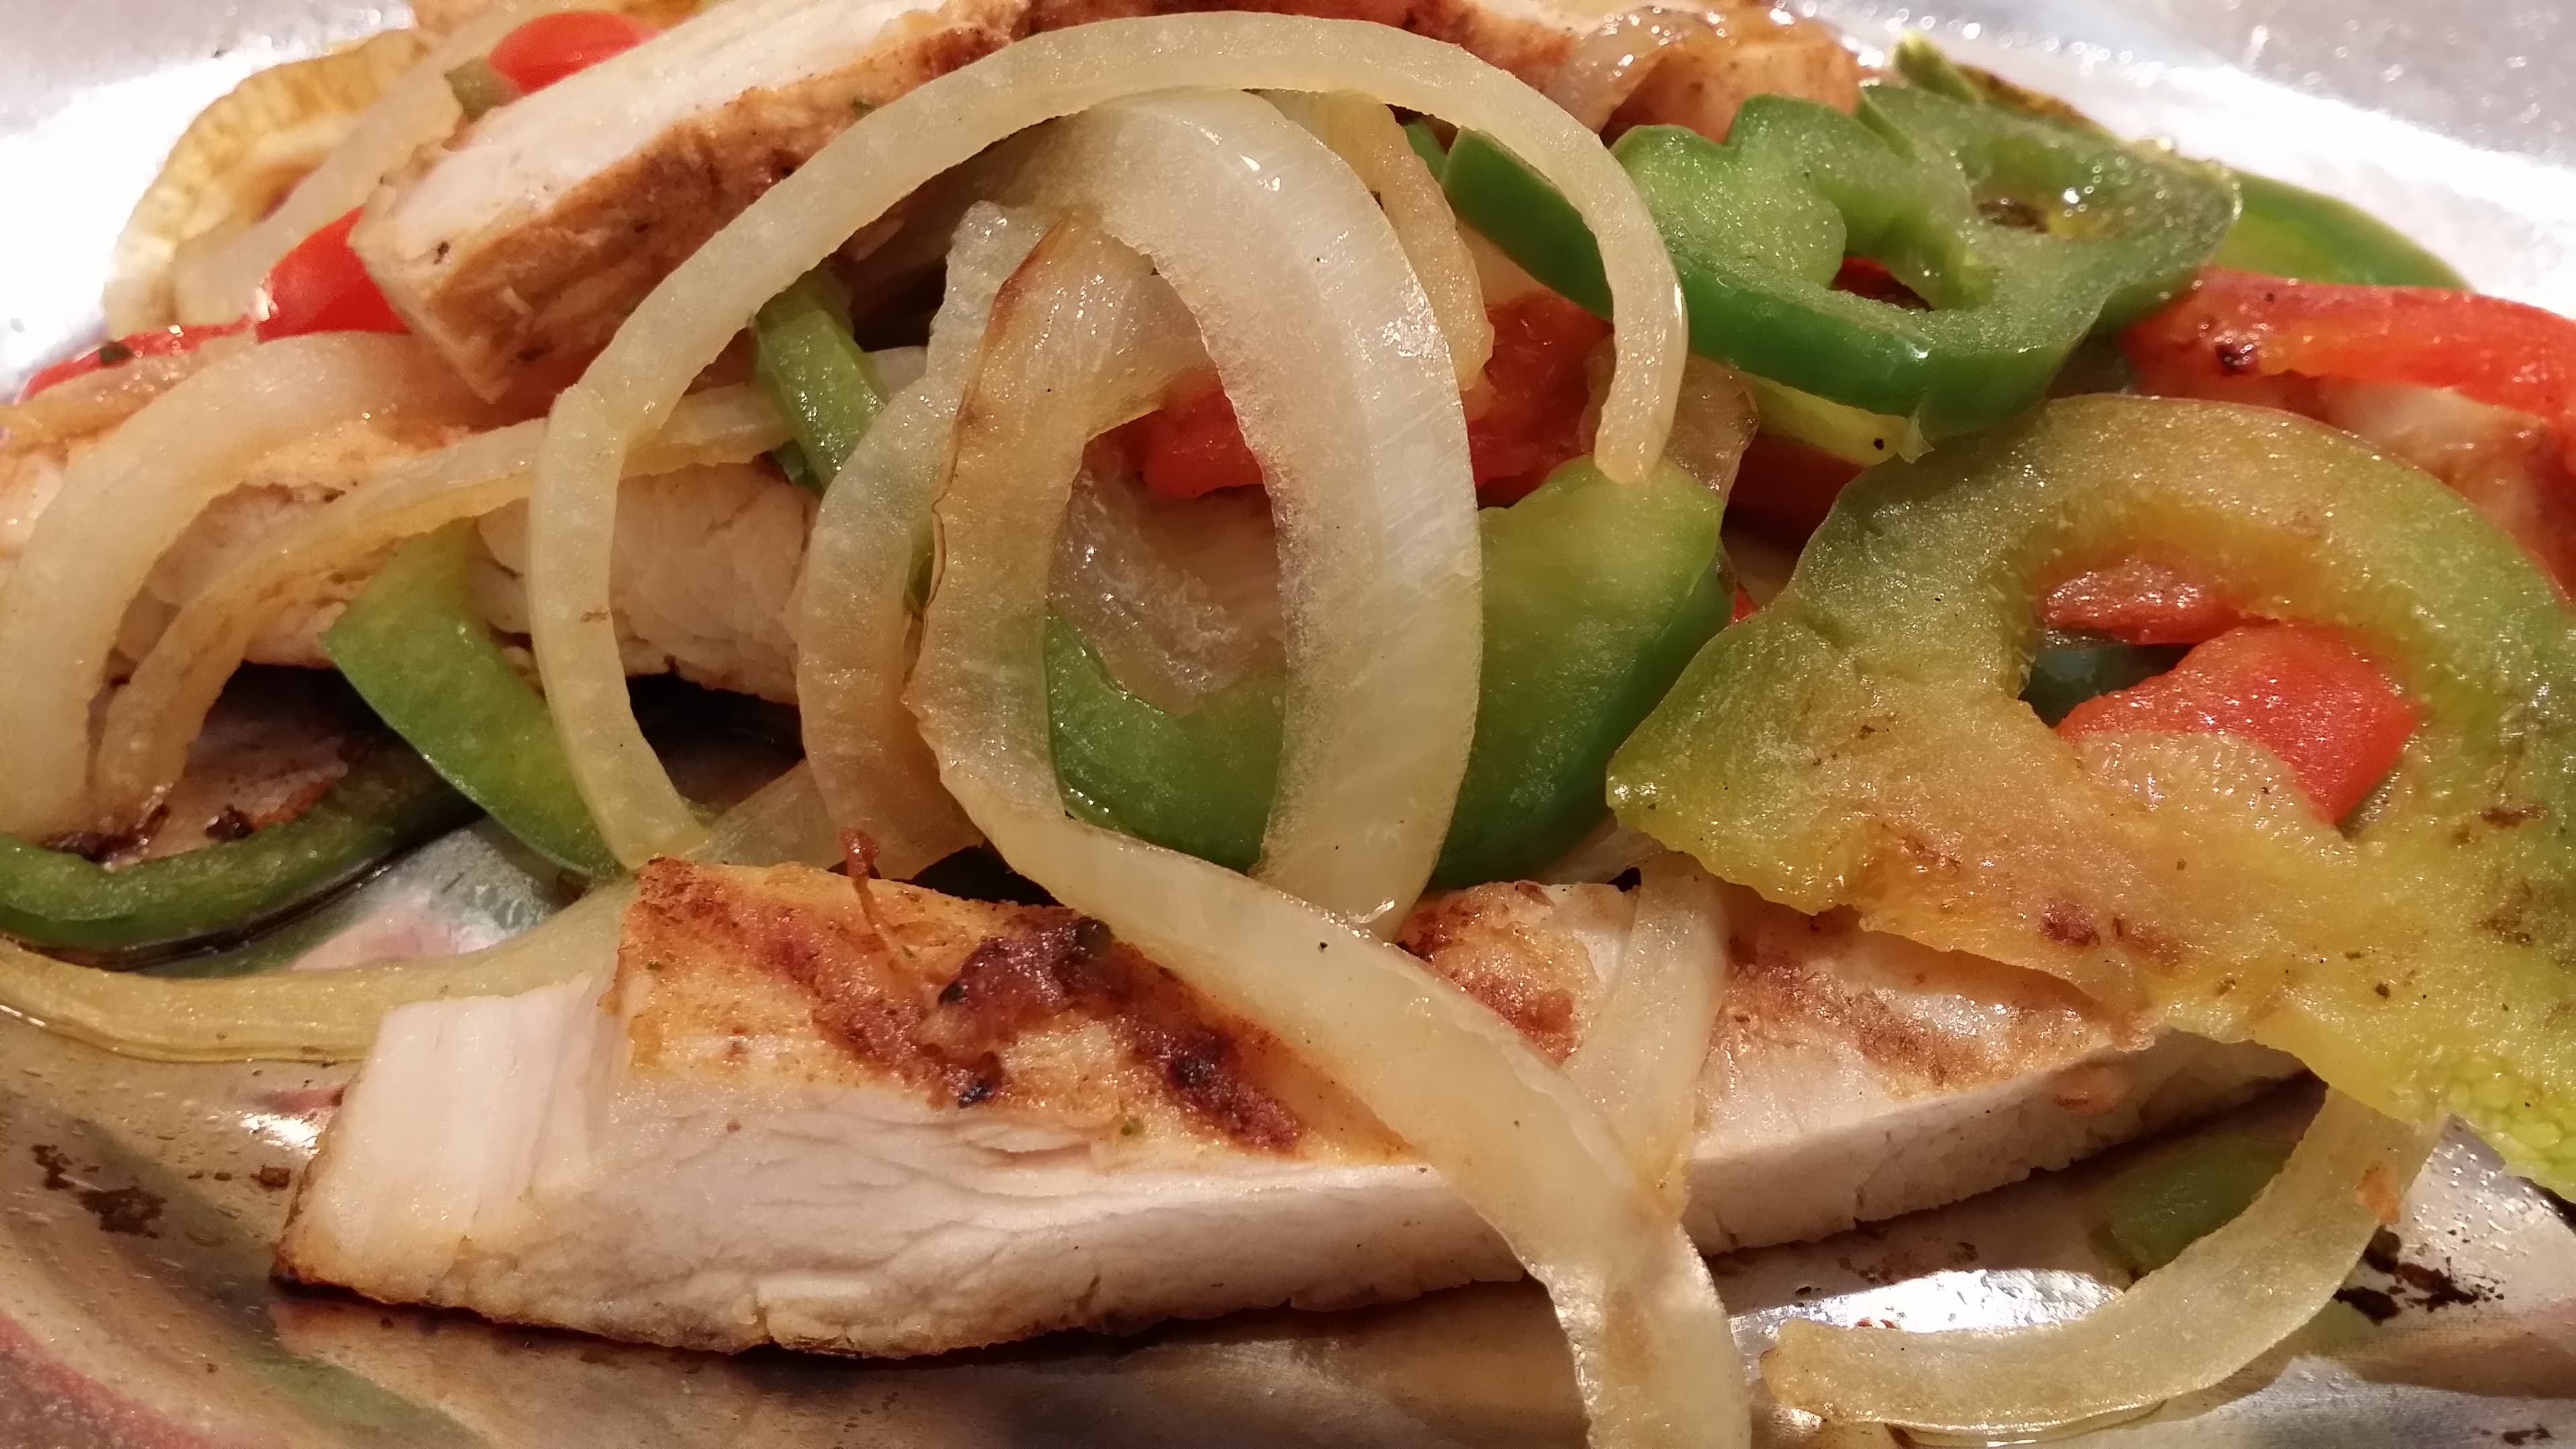 BOSTON66 · CC BY-SA 4.0
A batch sheet-pan fajita built for four meal-prep containers, with cooling, portioning, and reheat times spelled out.
Ingredients
Showing ingredients for 4 servings in US customary units.
Chicken
Vegetables
For containers
Cook times are not scaled with servings — adjust pan size and cook in batches as needed. Salt and “to taste” items are intentionally left for your judgment.
🛒 links open an Amazon search for that ingredient. Some links may earn FajitaRecipe.com a commission if you buy through Amazon, at no extra cost to you.
Step by step
How to make it
Preheat
Step 1. Heat the oven to 425°F with two rimmed sheet pans inside.
~10 min425°F
Season
Step 2. Toss the chicken, peppers, and onion with the oil, lime juice, and fajita seasoning in a large bowl until evenly coated.
~5 min
Roast
Step 3. Divide the mixture between the two preheated pans in a single layer — splitting the batch across two pans is what keeps this larger quantity from steaming. Roast 22–25 minutes, tossing once, until the chicken reaches 165°F.
~24 min165°F
Cool for storage
Step 4. Spread the cooked chicken and vegetables onto a clean sheet pan or wide platter in a thin, single layer to cool quickly. A thin layer cools well within the two-hour food-safety window; a deep pile in one pot does not.
~10 min
Portion
Step 5. Once cooled to room temperature, divide the chicken and vegetables evenly among 4 containers, about 1.5 cups each. Add 1/2 cup rice to each container in a separate compartment if your containers have one.
~8 min
Refrigerate
Step 6. Seal and refrigerate all containers within two hours of the food coming off the pan. Keep tortillas in their own bag at room temperature or the fridge, separate from the filling.
~2 min
Reheat and serve
Step 7. When ready to eat, microwave one container 2–3 minutes or until it reaches 165°F, stirring halfway. Warm a tortilla separately and assemble at the table.
~3 min165°F
Doneness & safety
Chicken (all cuts)165°F / 74°C
Cook chicken to a minimum internal temperature of 165°F (74°C), measured at the thickest part with an instant-read thermometer.
Source: USDA Food Safety and Inspection Service · reviewed 2026-07-04
Leftover storage
Refrigerate cooked fajita fillings within 2 hours (1 hour if above 90°F ambient). Store at or below 40°F, use within 3–4 days, and reheat to 165°F.
Source: USDA Food Safety and Inspection Service · reviewed 2026-07-04
🛒 Shop this recipe
Pantry & spices
Fresh ingredients
Fresh items open an Amazon search — availability varies by location.
Recommendations are chosen to help you cook better fajitas; some Amazon links may earn a commission at no extra cost to you.
Fix it
If containers turn watery in the fridge
Watery containers usually trace back to one of two things: the filling was portioned while still hot, trapping steam that condensed inside the sealed container, or the vegetables were cut too thin and released extra moisture as they sat. Let the filling cool fully in a thin layer before sealing containers, and stick to a 1/4-inch pepper and onion cut rather than thinner slices for a batch meant to sit several days.
Substitutions
| Instead of | Use | Adjust | Expect | Avoid when |
|---|---|---|---|---|
| White rice | Cauliflower rice or quinoa | Same volume. | Lower-carb or higher-protein base; cauliflower rice releases more moisture in storage, so pack it separately if possible. | — |
| Chicken thighs | Chicken breast | Same weight. Check for 165°F a few minutes earlier since breast cooks faster and dries out if left on the pan too long. | Leaner, but reheats less forgivingly than thigh across four days of storage. | — |
| Flour tortillas | Corn tortillas or a low-carb wrap | — | Corn brings more traditional flavor; both should still be stored separately from the filling. | — |
Technique
Two pans, not one crowded pan
Doubling a normal fajita batch to fill four containers means roughly two pounds of chicken and four peppers — more food than one half-sheet can hold in a single uncrowded layer. Splitting the mixture across two preheated pans, rather than piling it onto one, keeps every piece close enough to the hot metal to roast rather than steam, which matters even more here than in a single-dinner recipe since a soggy result multiplies across four servings instead of just one.
The call: Always split a doubled batch across two pans instead of crowding one.
Equipment for this recipe
Disclosure: As an Amazon Associate, FajitaRecipe.com earns from qualifying purchases. Recommendations are chosen to help you cook better fajitas; some Amazon links may earn a commission at no extra cost to you. See our selection methodology.
For sheet-pan fajitas
 Nordic Ware
Model Naturals Baker’s Half Sheet 43100
A sturdy rimmed half-sheet gives chicken and peppers room to roast in a single layer instead of steaming. Thin pans buckle at 425°F and pool juices in the warp.
Best for: Sheet-pan fajitas for 3–4 in a single layer.
 Winco
WincoModel TN719
A thin, flexible turner slides under roasted chicken and peppers that caught on the pan, so you flip them instead of shredding them.
Best for: Lifting and turning sheet-pan pieces without tearing.
 ThermoWorks
Model ThermoPop 2
You do not need a premium thermometer to cook safe chicken. The ThermoPop 2 is accurate and a few seconds slower — a great-value pick from the same maker.
Best for: A reliable read without the premium price.
Serving & storage
The two-hour cooling window drives the whole method
Food safety guidance calls for getting cooked food refrigerated within two hours, and the biggest obstacle to that window is a big batch of hot food cooling slowly in a deep pile, where the center can stay in the danger zone long after the surface feels cool. Spreading the roasted chicken and vegetables thin on a pan before portioning solves that: more surface area means faster, more even cooling, so by the time you have divided everything into four containers it is genuinely close to room temperature rather than still steaming in the middle.
The call: Cool in a thin layer before portioning, not stacked in one deep pot or container.
Serving & storage
Storing and reheating each container
Refrigerate all four containers within two hours of cooking and plan to eat them within 3–4 days — label the first container with that date if it helps. Store tortillas separately from the start; packed together with the filling, they turn soggy from trapped steam well before the filling itself goes bad. Reheat each container to 165°F, stirring partway through if using a microwave, and warm tortillas fresh each time rather than reheating them alongside the filling.
The call: Store tortillas separately, use containers within 3–4 days, and reheat to 165°F.
Frequently asked questions
+How long do chicken fajita meal prep containers last in the fridge?
Up to 3–4 days when refrigerated within two hours of cooking. Reheat each container to 165°F before eating.
+Should I pack the tortillas with the filling?
No. Store tortillas in their own bag, separate from the chicken and vegetables. Packed together, trapped steam softens the tortillas well before the filling itself needs attention.
+Can I freeze chicken fajita meal prep containers?
Yes — freeze the cooled filling (without rice or tortillas) in airtight containers for up to 2–3 months. Thaw overnight in the fridge and reheat to 165°F; cook rice fresh when you are ready to eat.
+Why did my meal prep containers turn watery?
Usually the filling was sealed while still warm, trapping condensation, or the vegetables were sliced too thin and shed extra liquid over several days. Cool fully in a thin layer before portioning and keep pepper slices around 1/4 inch thick.
Testing, sources & disclosure
This recipe was developed and reviewed by our editors. We publish full kitchen-test notes here once a recipe has been cooked and verified in our kitchen.
- Author:
- FajitaRecipe Editorial
- Last reviewed:
- 2026-07-06
Sources
- Safe Minimum Internal Temperature Chart, USDA FSIS linkSupports: Poultry minimum internal temperature and leftover storage
As an Amazon Associate, FajitaRecipe.com earns from qualifying purchases. We do not provide medical or dietary advice; follow USDA guidance for food safety.
Keep cooking
You might also like
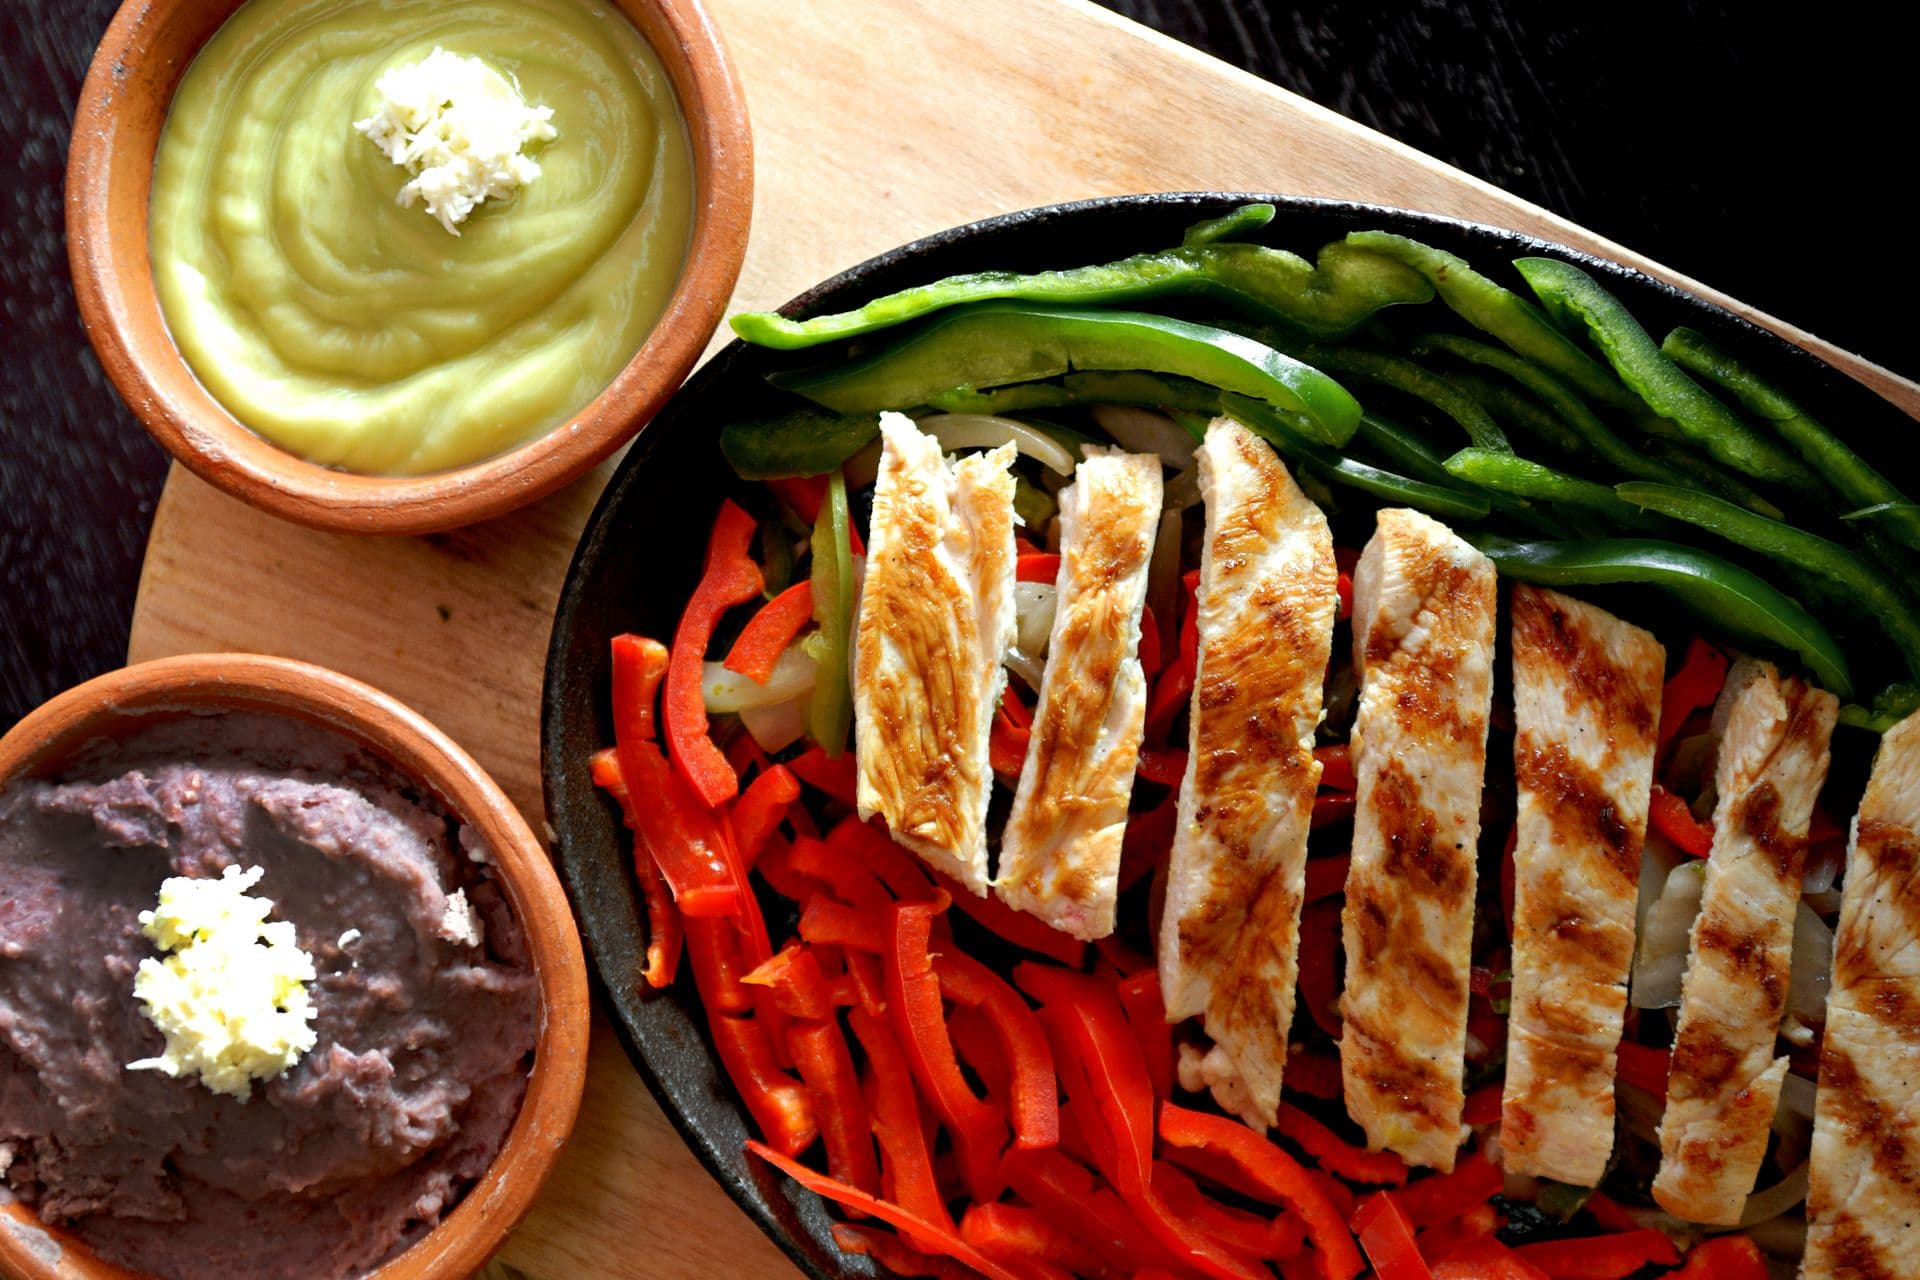 Pexels contributor · Pexels License
Sheet-Pan Chicken Fajitas
40 min · easy
Sheet-pan chicken fajitas turn the oven into a hands-off cook that needs no standing at the stove. Toss sliced thighs, peppers, and onions with oil and seasoning, spread them in one uncrowded layer on a preheated pan, and roast at 425°F until the chicken hits 165°F and the edges color. One pan in, one pan out, and only a bowl and a knife to wash.
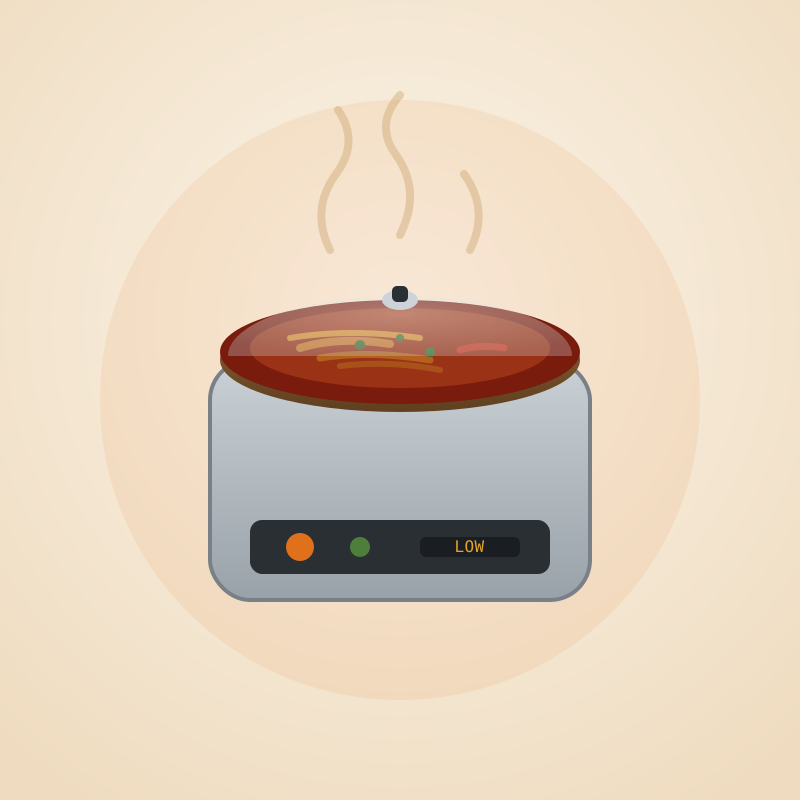
Slow-Cooker Chicken Fajitas
255 min · easy
Slow-cooker chicken fajitas are the hands-off version: layer chicken, peppers, and onions with seasoning and lime, then cook on low until the chicken shreds and reaches 165°F. Be honest with yourself — a slow cooker steams, so it will not char and the vegetables come out soft. Finish the shredded chicken under the broiler for a few minutes if you want browning and color before serving.
 Pexels contributor · Pexels License
Classic Chicken Fajitas
30 min · easy
Classic chicken fajitas come together in one skillet in about half an hour. Sear seasoned strips of boneless skinless thigh over medium-high heat until browned, cook the peppers and onions in the same pan so they pick up the fond, then finish with a squeeze of lime. Cook the chicken to 165°F, pile it into warm tortillas, and add your toppings.