Griddle Temperature for Fajitas: How Hot and How to Set Zones
Fajitas on a flat top want real heat: a searing zone around 450 to 500°F to crust the meat and blister the vegetables, and a cooler medium zone near 300°F to hold cooked food and warm tortillas. This guide covers the target temperatures, how to set two zones on a Blackstone, how to test the heat without a thermometer, and why steady high heat is what gives char instead of steam.
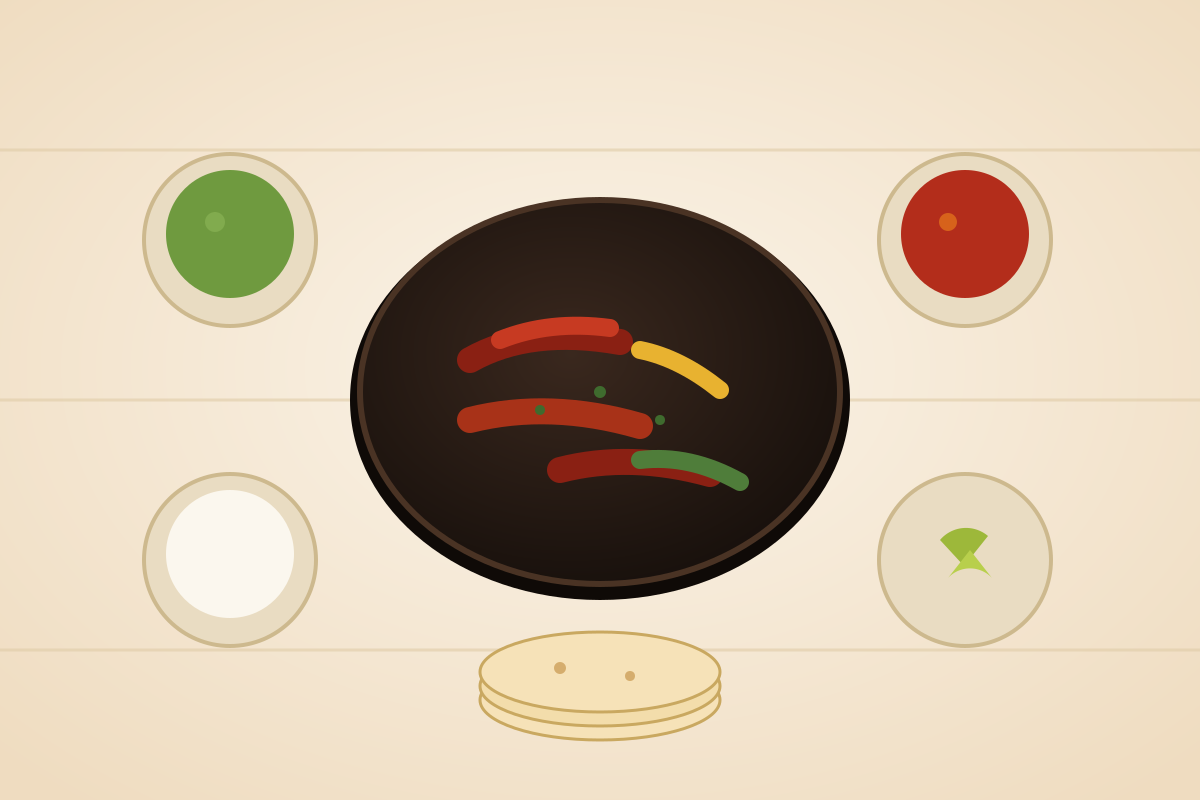
The right griddle temperature for fajitas: searing and holding zones, target temps for steak, chicken, and vegetables, and how to set two zones on a flat top.
Technique
Setting and testing two zones
On a multi-burner Blackstone, turn the burners under one half to high and the other half to low or medium-low; give the plate ten to fifteen minutes to come up to temperature and even out before you cook. An inexpensive infrared thermometer takes the guesswork out, but you can also test by feel: a drop of water should skitter and evaporate in a second or two on the sear zone, and a thin film of oil should shimmer and lightly smoke. If food is graying instead of browning, the surface is too cool or too crowded — give it more time to recover heat between batches and spread things out.
The call: One half high, one half low; preheat 10–15 minutes; test with water skitter or an infrared thermometer.
Technique
Moving food across the two zones
Two zones only help if you move food between them with intent. Start proteins on the rip-hot side to build a crust, then slide finished or nearly-finished pieces onto the medium zone so they stay hot without cooking further while the next batch sears. Peppers and onions can begin on the hot side to blister and char, then shift to the cooler zone to soften through without scorching at the edges. Tortillas belong entirely on the medium zone, where they warm and pick up a few toasty spots rather than crisping. Think of the hot zone as a workstation with limited seats: only what actively needs searing should occupy it, and everything else waits or rests on the medium side. That keeps the sear surface uncrowded, which is what preserves its heat and its char. A long spatula or two makes the shuffle easy — push seared meat to the holding zone, pull raw vegetables into the vacated hot space, and keep the flow moving. Because both zones live on one continuous plate, food never has to leave the heat or wait in a cold bowl, so everything comes together hot and at once. Plan the order before you start so the pieces finish together rather than in a slow trickle.
The call: Sear on the hot zone, then slide food to the medium zone to hold while the next batch cooks, keeping the sear surface uncrowded.
The science
Why the surface cools and how to recover
A griddle plate holds a fixed amount of stored heat, and cold food pulls from that reserve the instant it lands. Drop a pile of refrigerated steak and wet vegetables on the surface and the temperature sags; if it sags far enough, the food releases moisture and steams gray instead of searing. Two habits prevent this. First, preheat longer than feels necessary — ten to fifteen minutes on high lets the thick steel saturate with heat, so it has reserves to spend rather than just a hot skin over a cool core. Second, cook in waves. Loading the plate in stages lets the surface rebound between batches, so each round meets metal that is still hot enough to char. Patting proteins dry and letting them shed the worst of their fridge chill before they hit the steel also softens the initial drop. You can watch the recovery happen: after a batch, a water droplet that lands and lingers instead of skittering tells you the plate needs a minute before the next round. Resist the urge to crowd everything on to save time — a crowded, cooled surface cooks slower overall than a hot one worked in batches. Steady, well-recovered heat is what separates a charred fajita from a boiled one.
The call: Preheat the plate for ten to fifteen minutes and cook in waves so the surface can recover its heat between batches.
Recommended gear
Disclosure: As an Amazon Associate, FajitaRecipe.com earns from qualifying purchases. Recommendations are chosen to help you cook better fajitas; some Amazon links may earn a commission at no extra cost to you. See our selection methodology.
For making seasoning
 Cuisinart
Model SG-10
Toasting whole cumin and grinding it fresh gives a homemade seasoning noticeably more aroma than pre-ground jars that have sat for months.
Best for: Grinding whole cumin and dried chiles for a fresher blend.
Homemade blend keeps its potency about six months in an airtight jar away from light and stove heat — worth it if you mix a big batch.
Best for: Storing homemade fajita seasoning so it keeps its punch.
When to adjust
Thin, fast cuts like skirt steak and shrimp want the hottest zone and the shortest time so they crust without overcooking. Chicken benefits from a hair less heat so it cooks through before the outside burns — sear on high, then finish on the medium zone if needed. Vegetables want the high zone and patience: leave them undisturbed to char. If you are feeding a crowd and the surface temperature drops as cold food hits it, cook in waves and let the plate recover between them rather than crowding everything on at once. Steady heat, not maximum heat, is the goal.
The call: Hottest zone for skirt and shrimp; slightly lower or a medium finish for chicken; recover heat between batches for a crowd.
Frequently asked questions
+What temperature should a griddle be for fajitas?
Set a searing zone around 450 to 500°F for the meat and vegetables and a medium zone around 300°F to hold cooked food and warm tortillas. Steady high heat on the sear zone is what gives char instead of steam.
+How do you set two zones on a Blackstone for fajitas?
Turn the burners under one half of the griddle to high and the other half to low or medium-low, then preheat for ten to fifteen minutes so the plate evens out. Sear on the hot half and hold or warm tortillas on the cooler half.
+How do you check griddle temperature without a thermometer?
Flick a few drops of water on the surface: on a proper searing zone they skitter and evaporate within a second or two. A thin film of oil should shimmer and lightly smoke. An inexpensive infrared thermometer is more precise.
+Why do fajitas steam instead of char on the griddle?
Usually the surface is too cool or too crowded. Cold food and a full plate pull heat out of the steel faster than it can recover, so the food gives up water and steams gray. Preheat longer, cook in smaller waves, and pat proteins dry so the sear zone stays hot.
Testing, sources & disclosure
Researched and reviewed by our editors. See our recommendation methodology.
- Author:
- FajitaRecipe Editorial
- Last reviewed:
- 2026-07-13
As an Amazon Associate, FajitaRecipe.com earns from qualifying purchases. We do not provide medical or dietary advice; follow USDA guidance for food safety.
Keep cooking
You might also like
Griddle Fajitas: The Blackstone & Flat-Top Method
A flat-top griddle like a Blackstone is arguably the best fajita cooker there is: acres of screaming-hot surface let you sear meat and char vegetables in single layers with no crowding and no steaming. Set up two heat zones, cook the meat and vegetables separately on high, keep everything moving with a wide spatula, and warm the tortillas right on the flat top. It is the closest thing to a restaurant fajita line at home.
Best Griddle Tools for Fajitas: What You Actually Need
You do not need a huge kit to cook great fajitas on a flat top, but a few tools make it faster and cleaner: two wide metal spatulas for gathering and flipping, a squeeze bottle for oil, a bench scraper for cleanup, and an instant-read thermometer for doneness. This guide covers the tools that earn their place on the griddle, the nice-to-haves, and what to skip.

How to Get Restaurant-Style Fajita Char
That deep, blistered char on restaurant fajitas comes from screaming-hot metal and patience. Sizzling platters ride on cast iron or a flat-top held far hotter than a home burner usually reaches. Get there by preheating hard, drying the food, cooking in batches so the surface stays hot, using a high-smoke-point oil, and leaving each piece alone long enough to brown before you move it.